Krita and AI-powered Dynamic Image Generation
Krita is a free, open source image editing desktop application, similar to Adobe Photoshop, with AI-powered image generation plugins
For a quick understanding of the power of Generative AI for Krita, check out this brief Youtube video. (Credit: Youtube & Github User: Acly)
For more about the that particular plugin, including how to install it into Krita (free), visit Github User Acly's Github Page for the project: Github.com/Acly "Generative AI for Krita"
What will I use this project for?
To generate a photo-realistic image of an event kiosk table with, on each side, a TV with a webcam mounted on top, to show a bilateral live streaming event: Stream a comedy show to an audience in another country, and stream the view of the audience back to the comedy show.
What are Resources for learning Krita?
My Experiments with Krita
Seed image
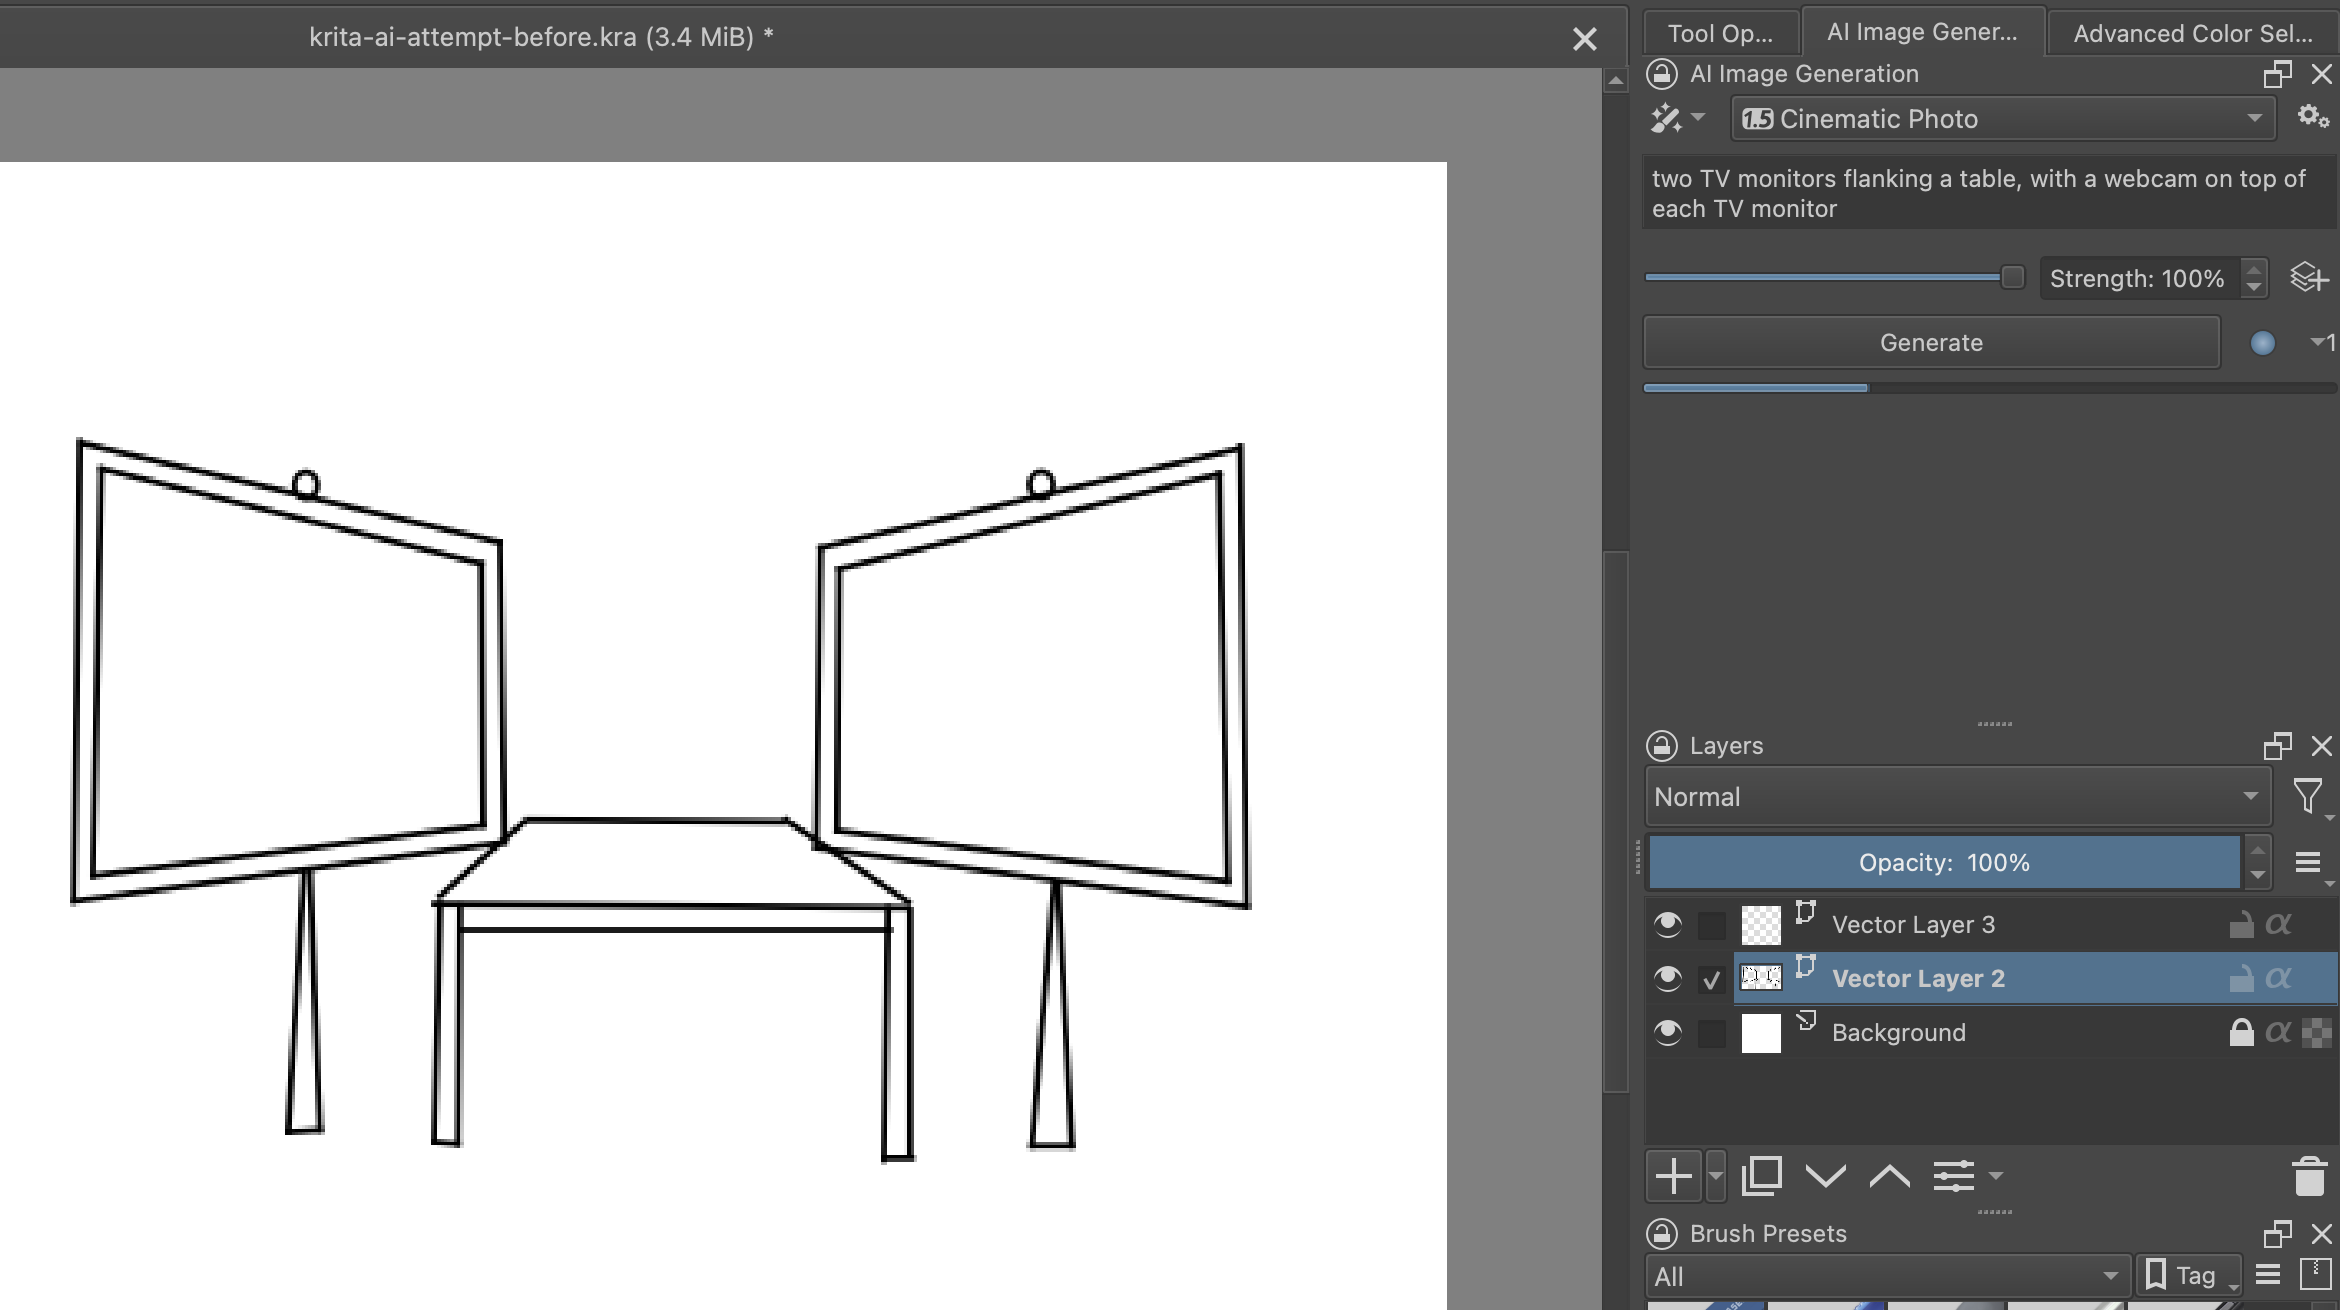
Attempt 1:
- Prompt:
- two TV monitors flanking a table, with a webcam on top of each TV monitor
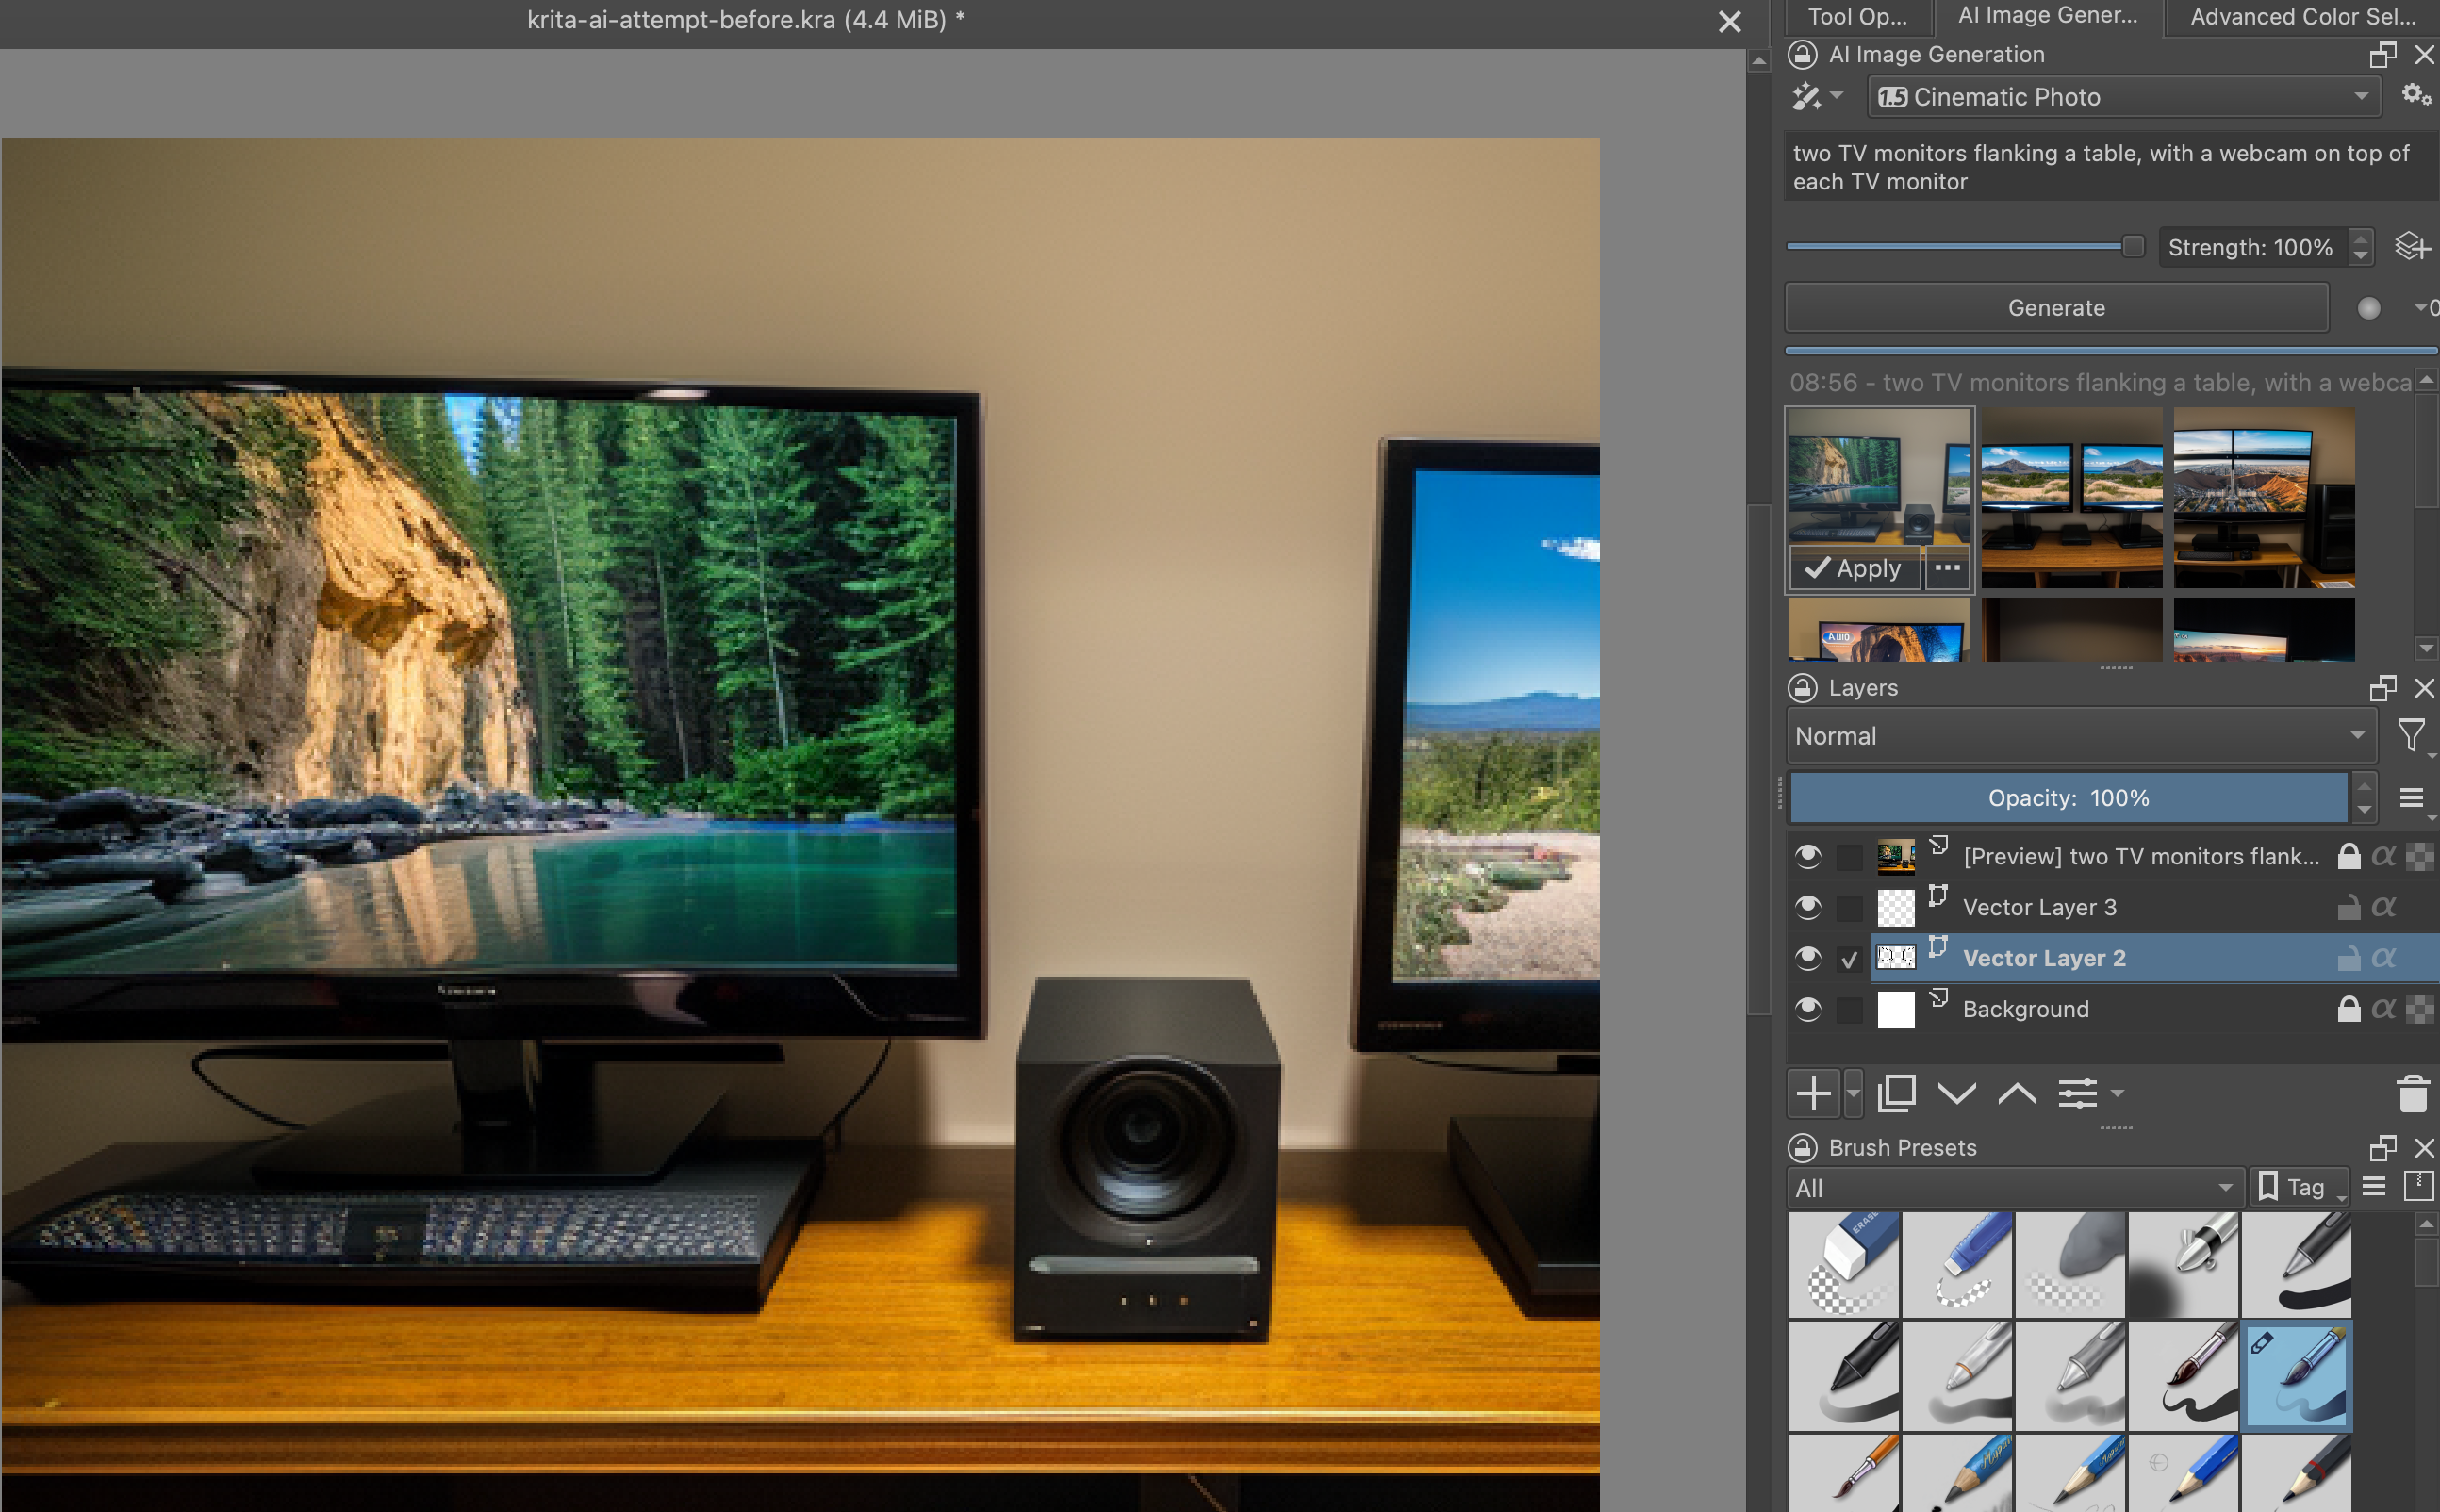
- two TV monitors flanking a table, with a webcam on top of each TV monitor
Attempt 2:
- Prompt: An event kiosk with two TV monitors on stands, with A webcam on top of each TV monitor, and a table in the middle between the TV monitors
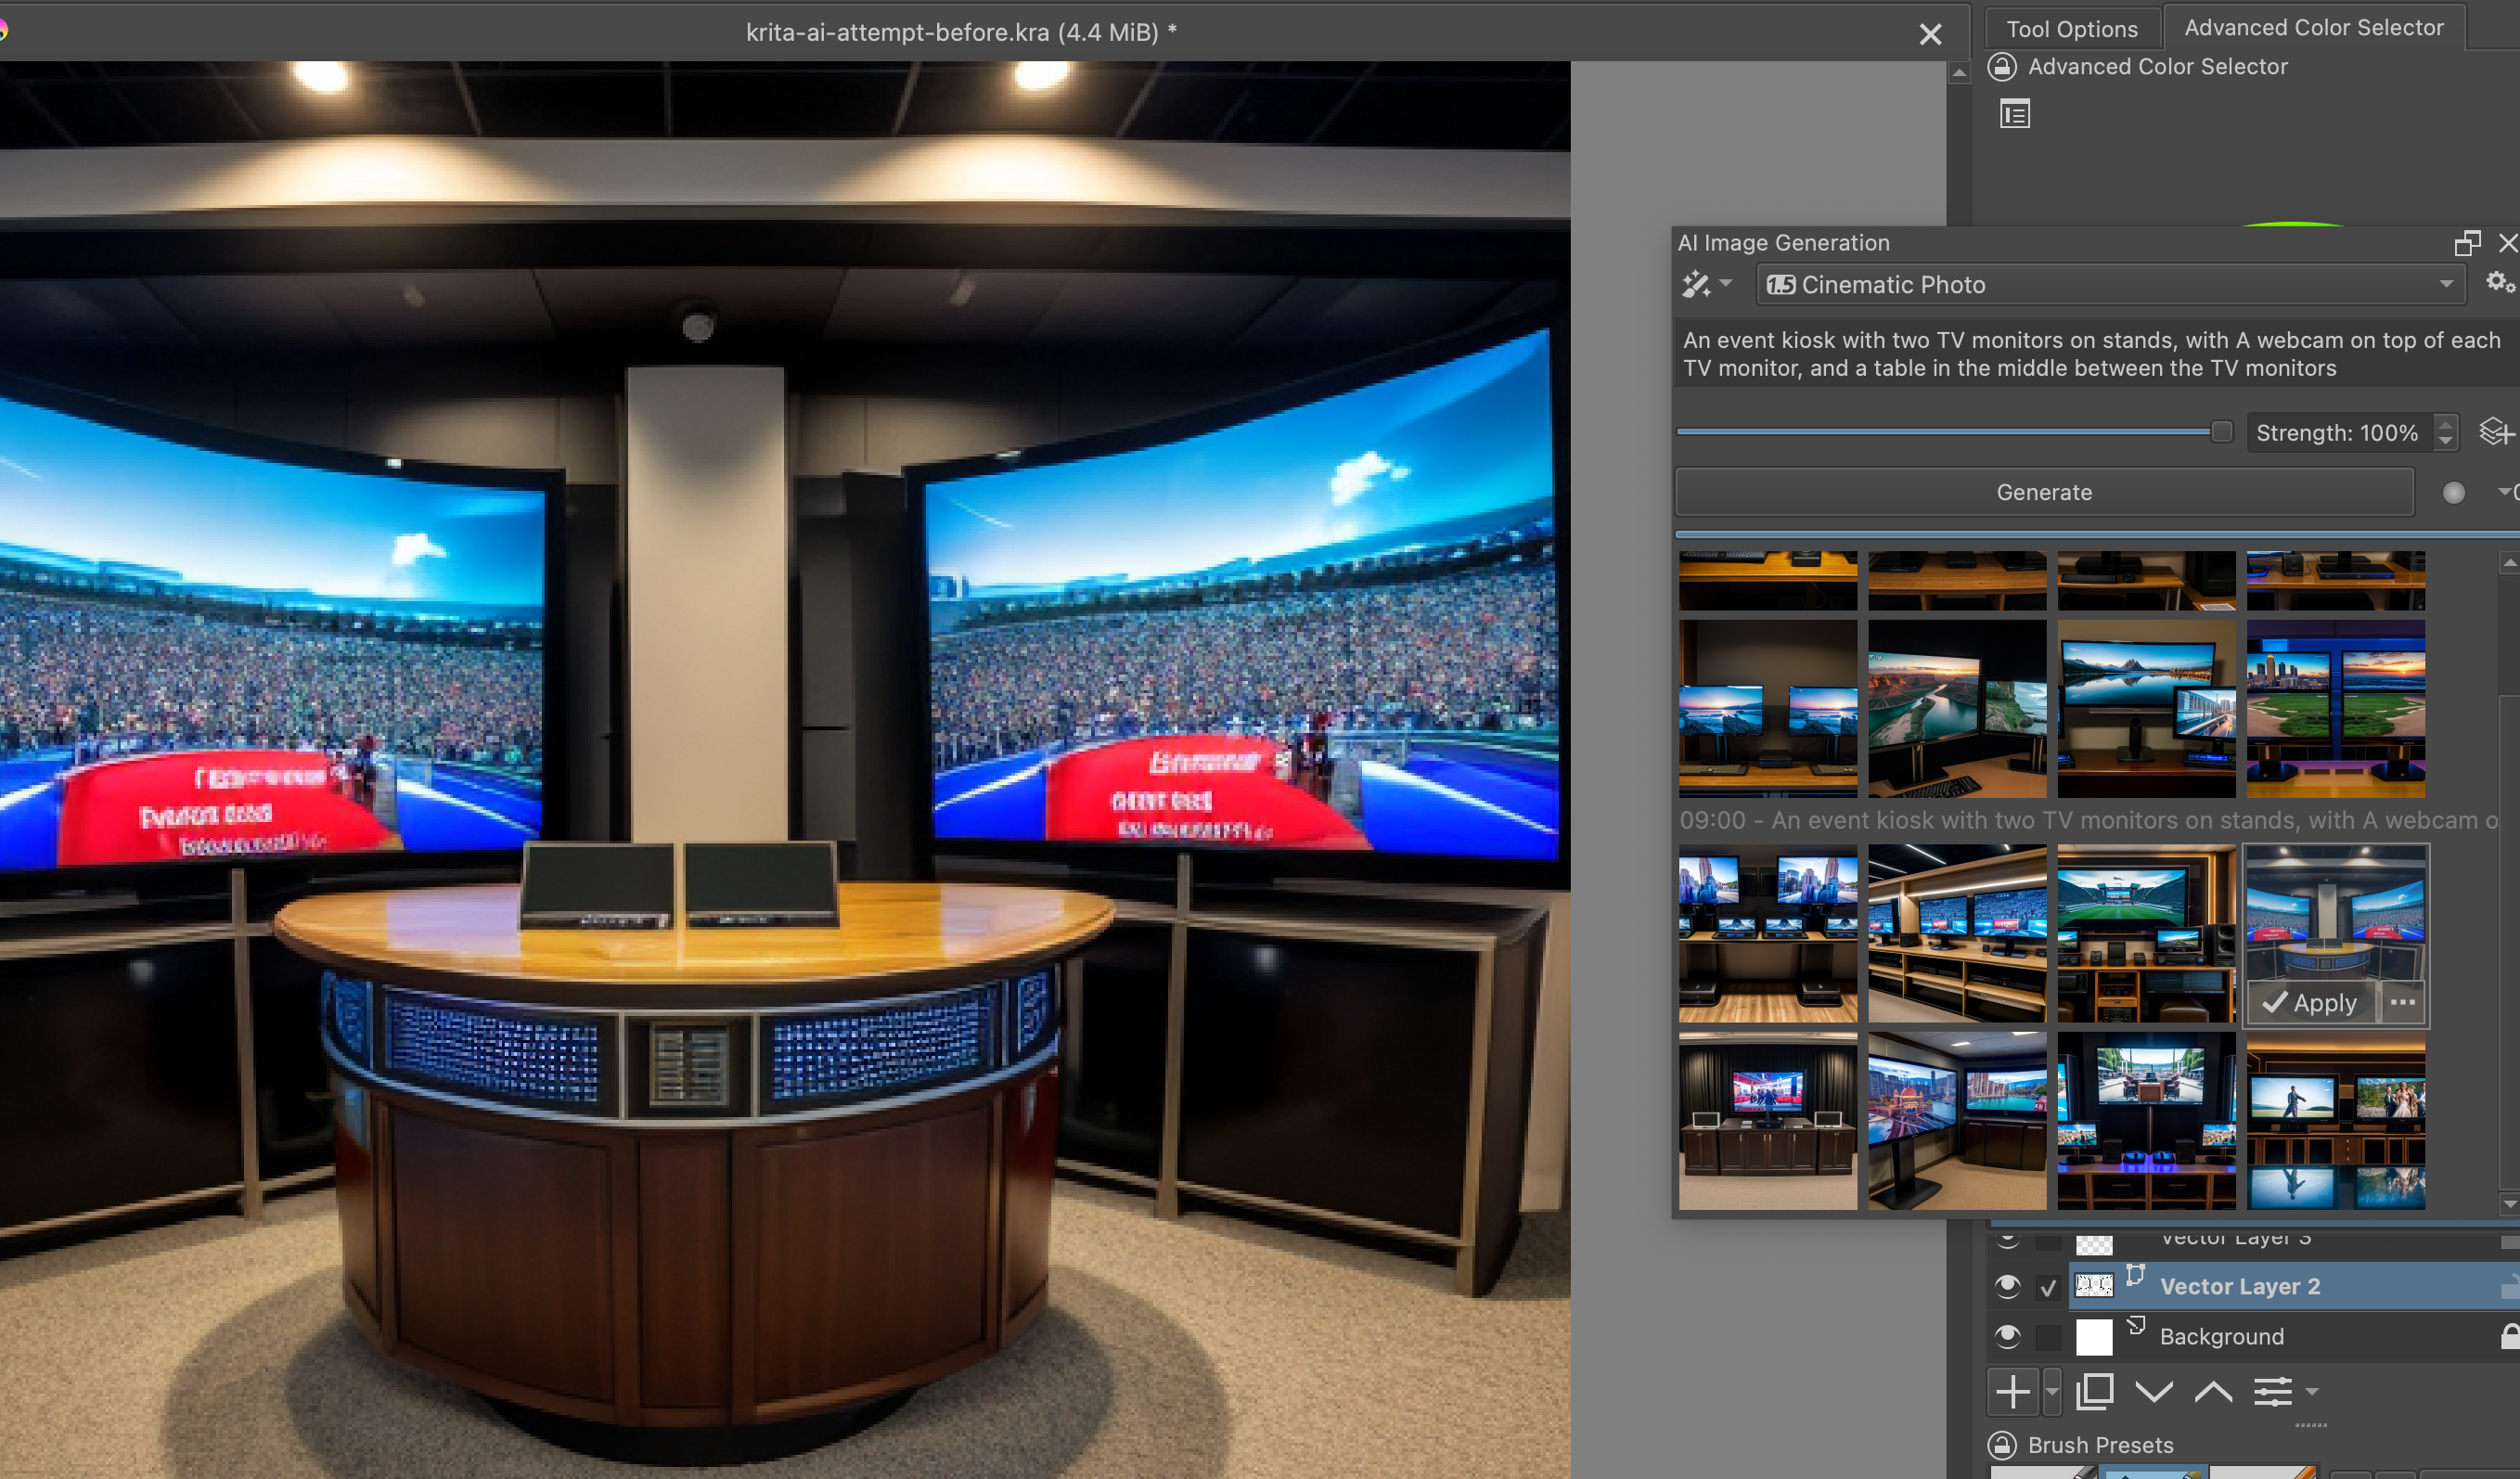
Attempt 3:
- Prompt: At the location of an indoor industry conference event, the image is a kiosk with two five foot TVs on stands and a table in the middle between the TV monitors
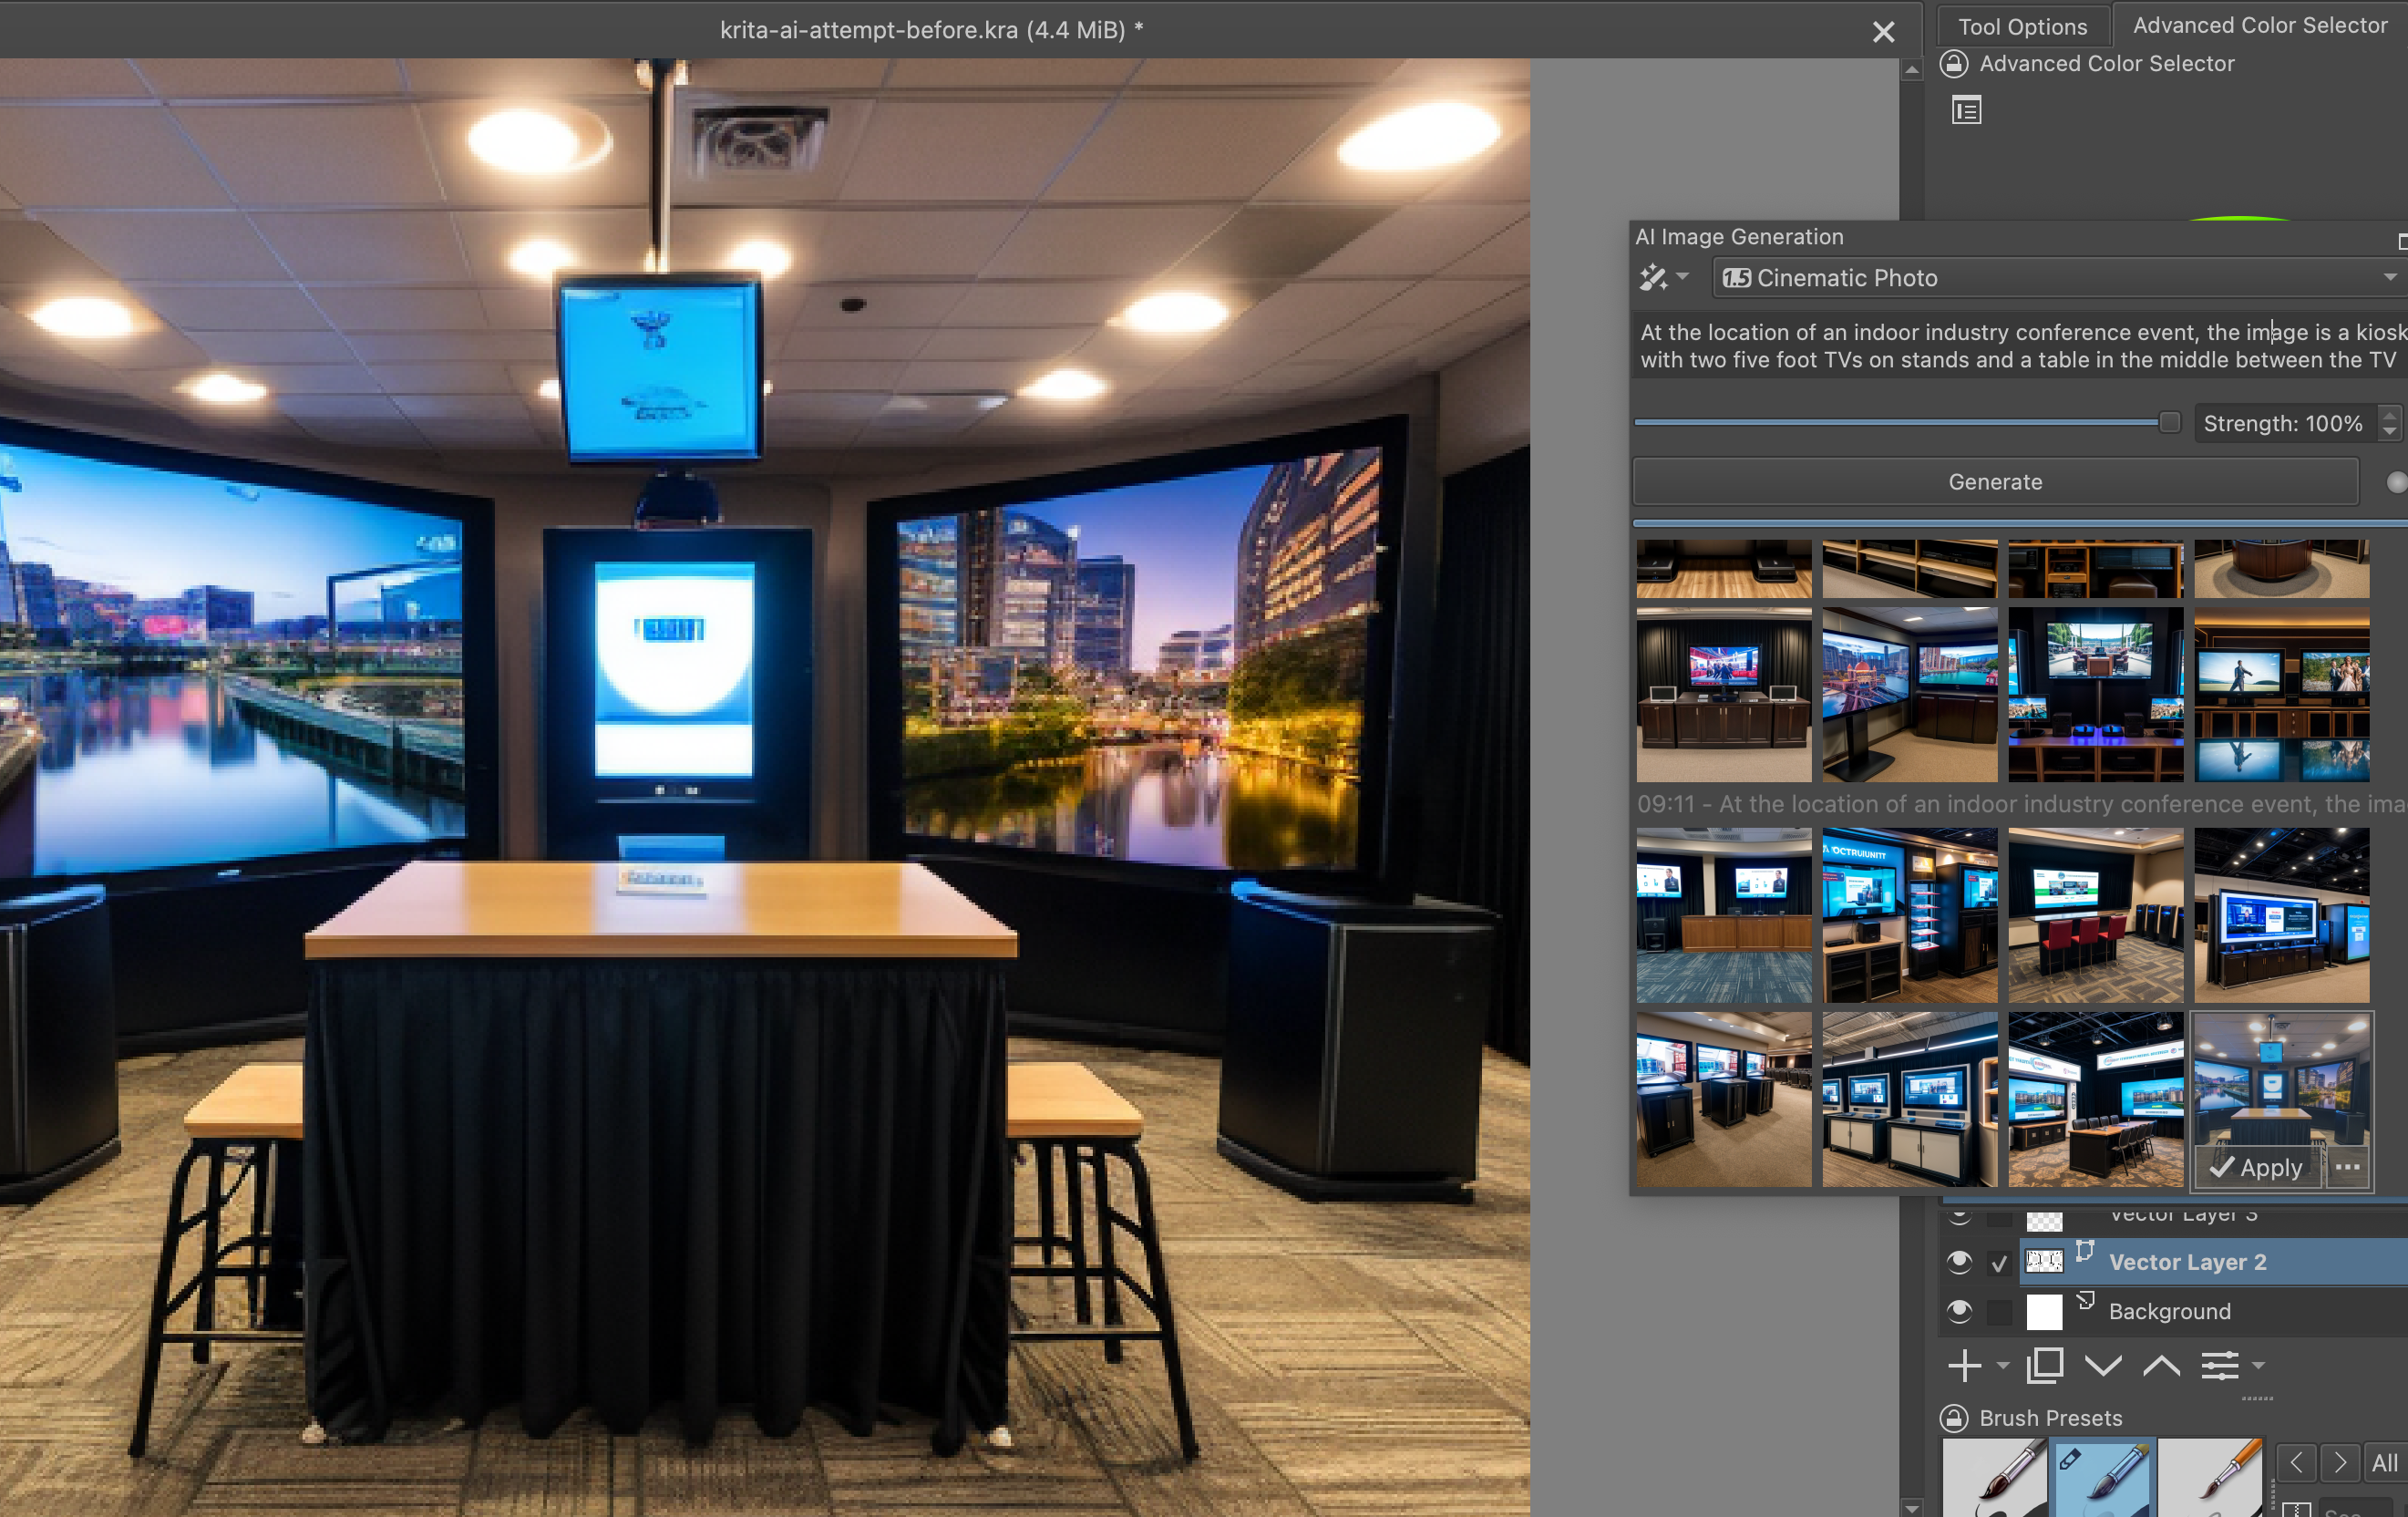
Attempt 4:
- Prompt: At the location of an outdoor festival, the image consists of two five foot TVs on stands and a display table in the directly between the TV monitors
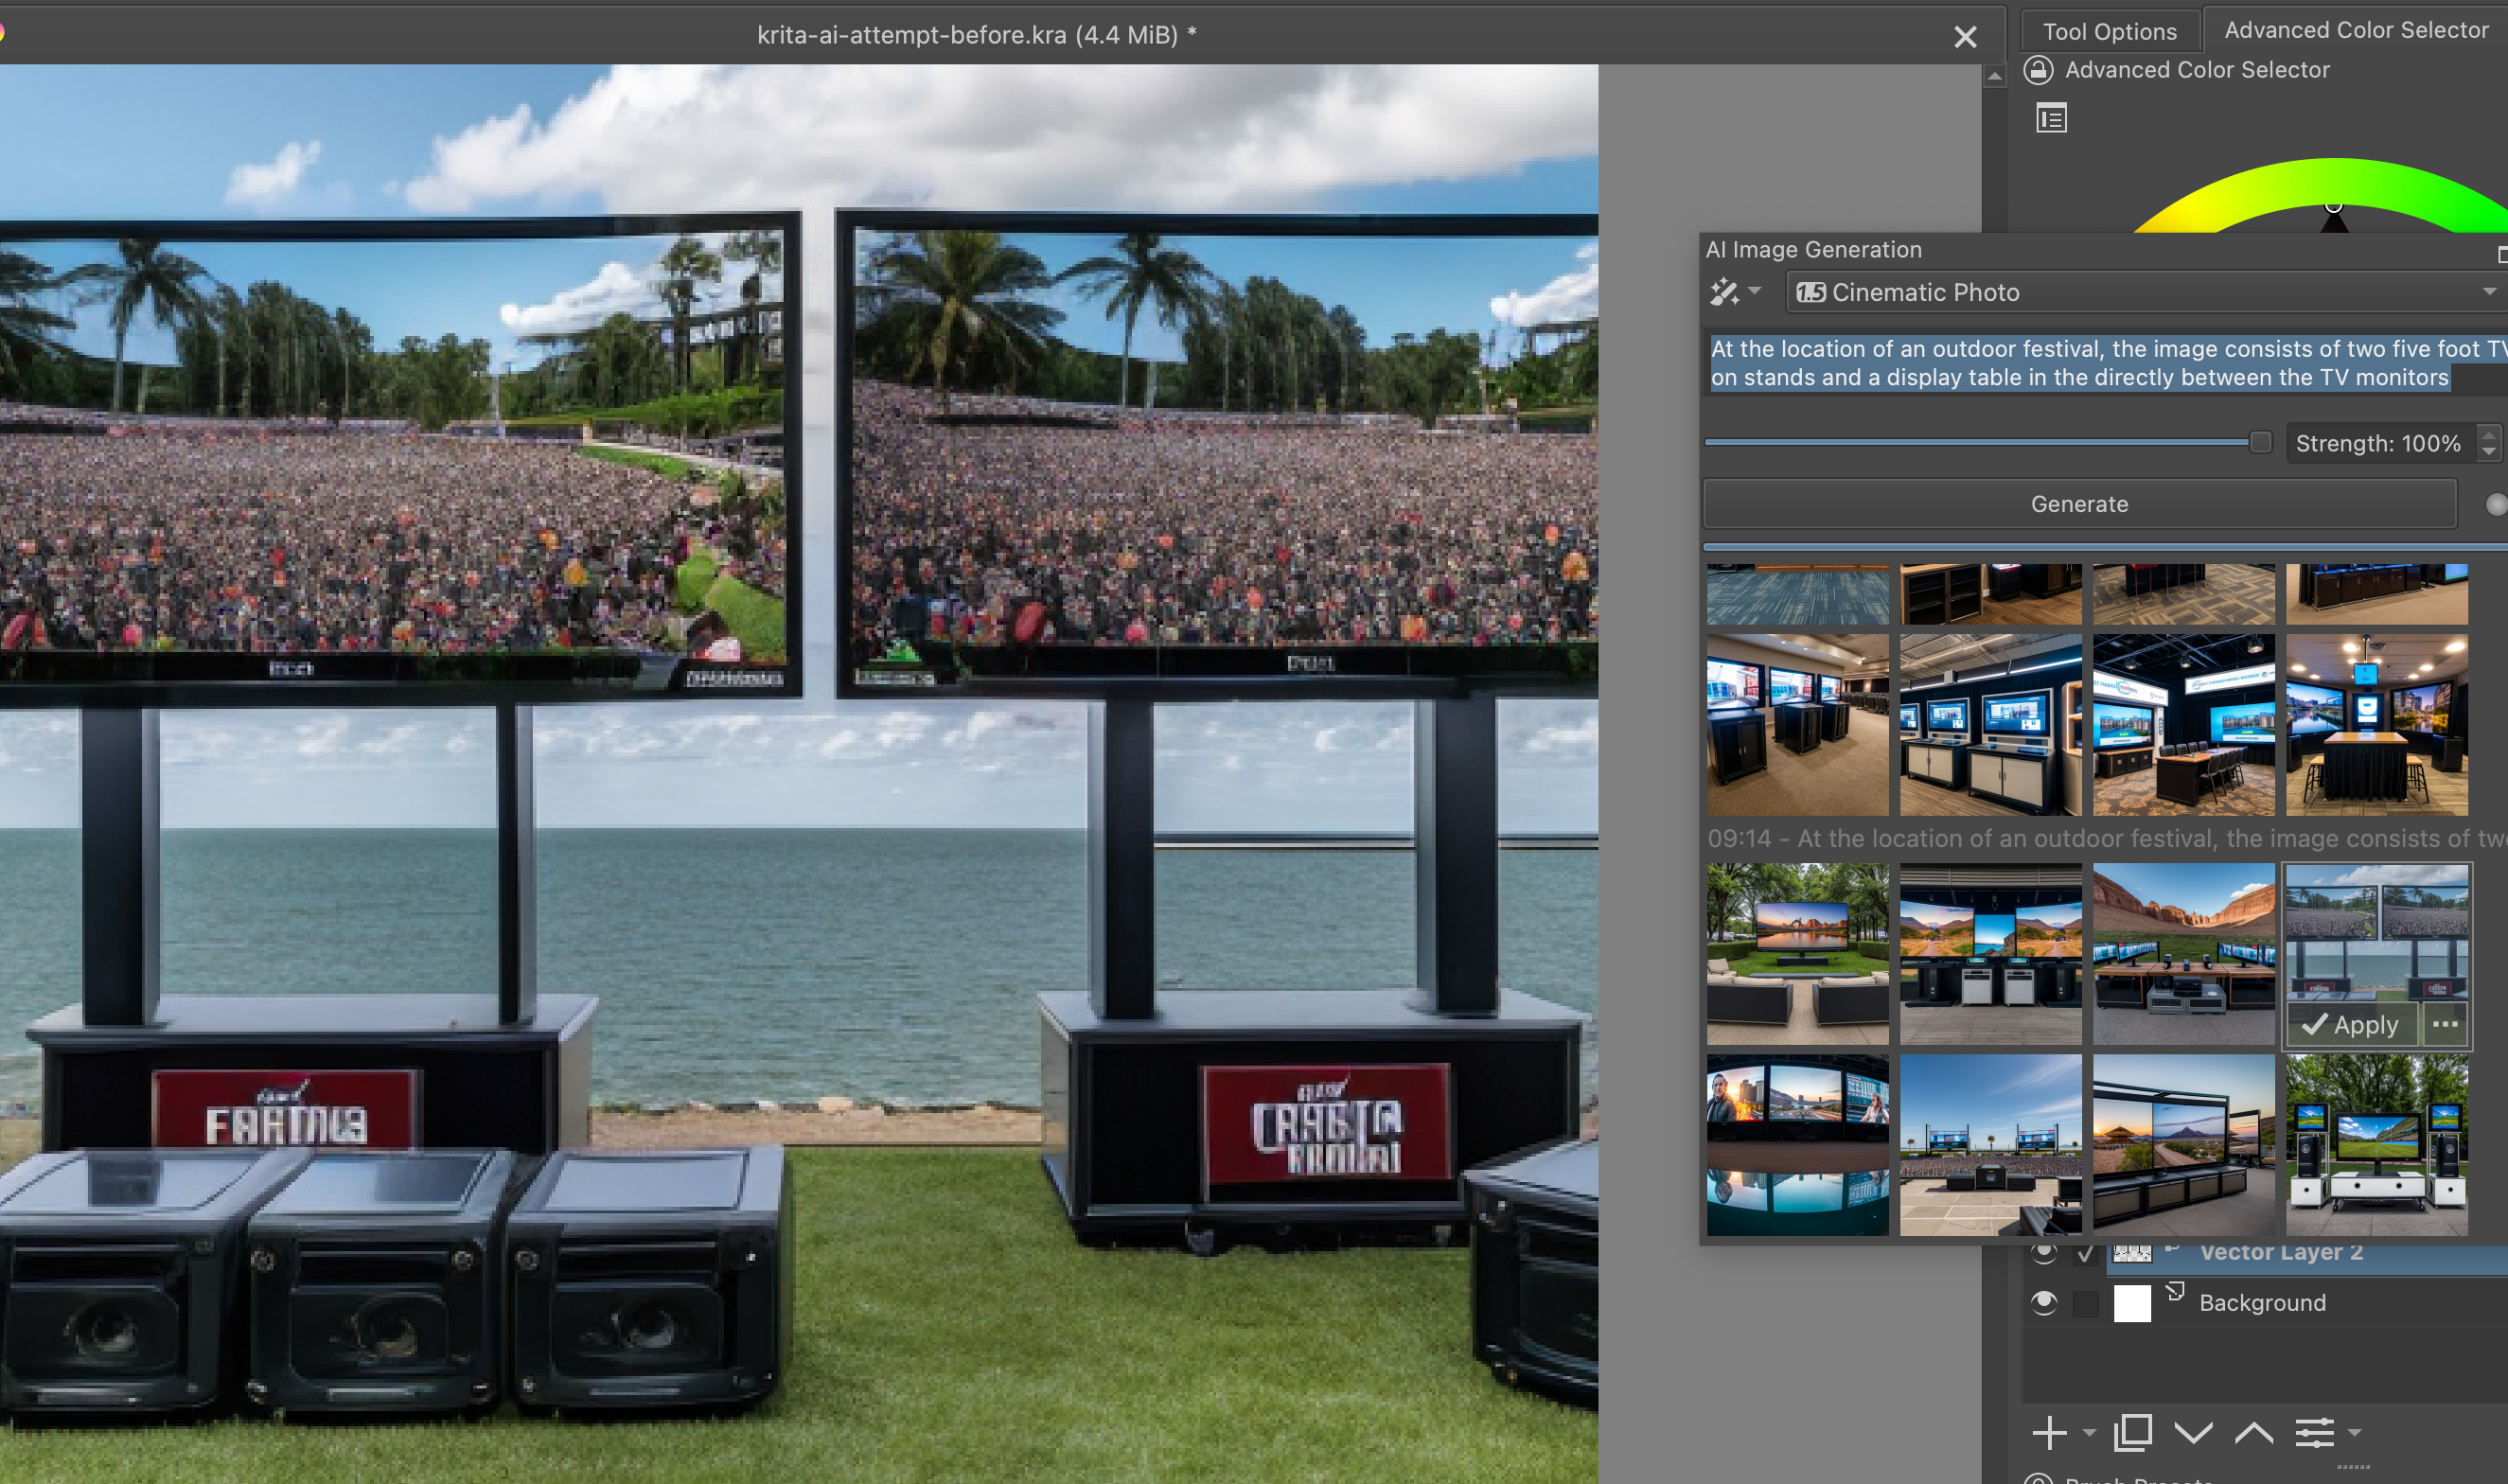
Attempt 5:
- Prompt: At a city field, the image consists of two five foot TVs with a display table, streaming a stand-up comedy show
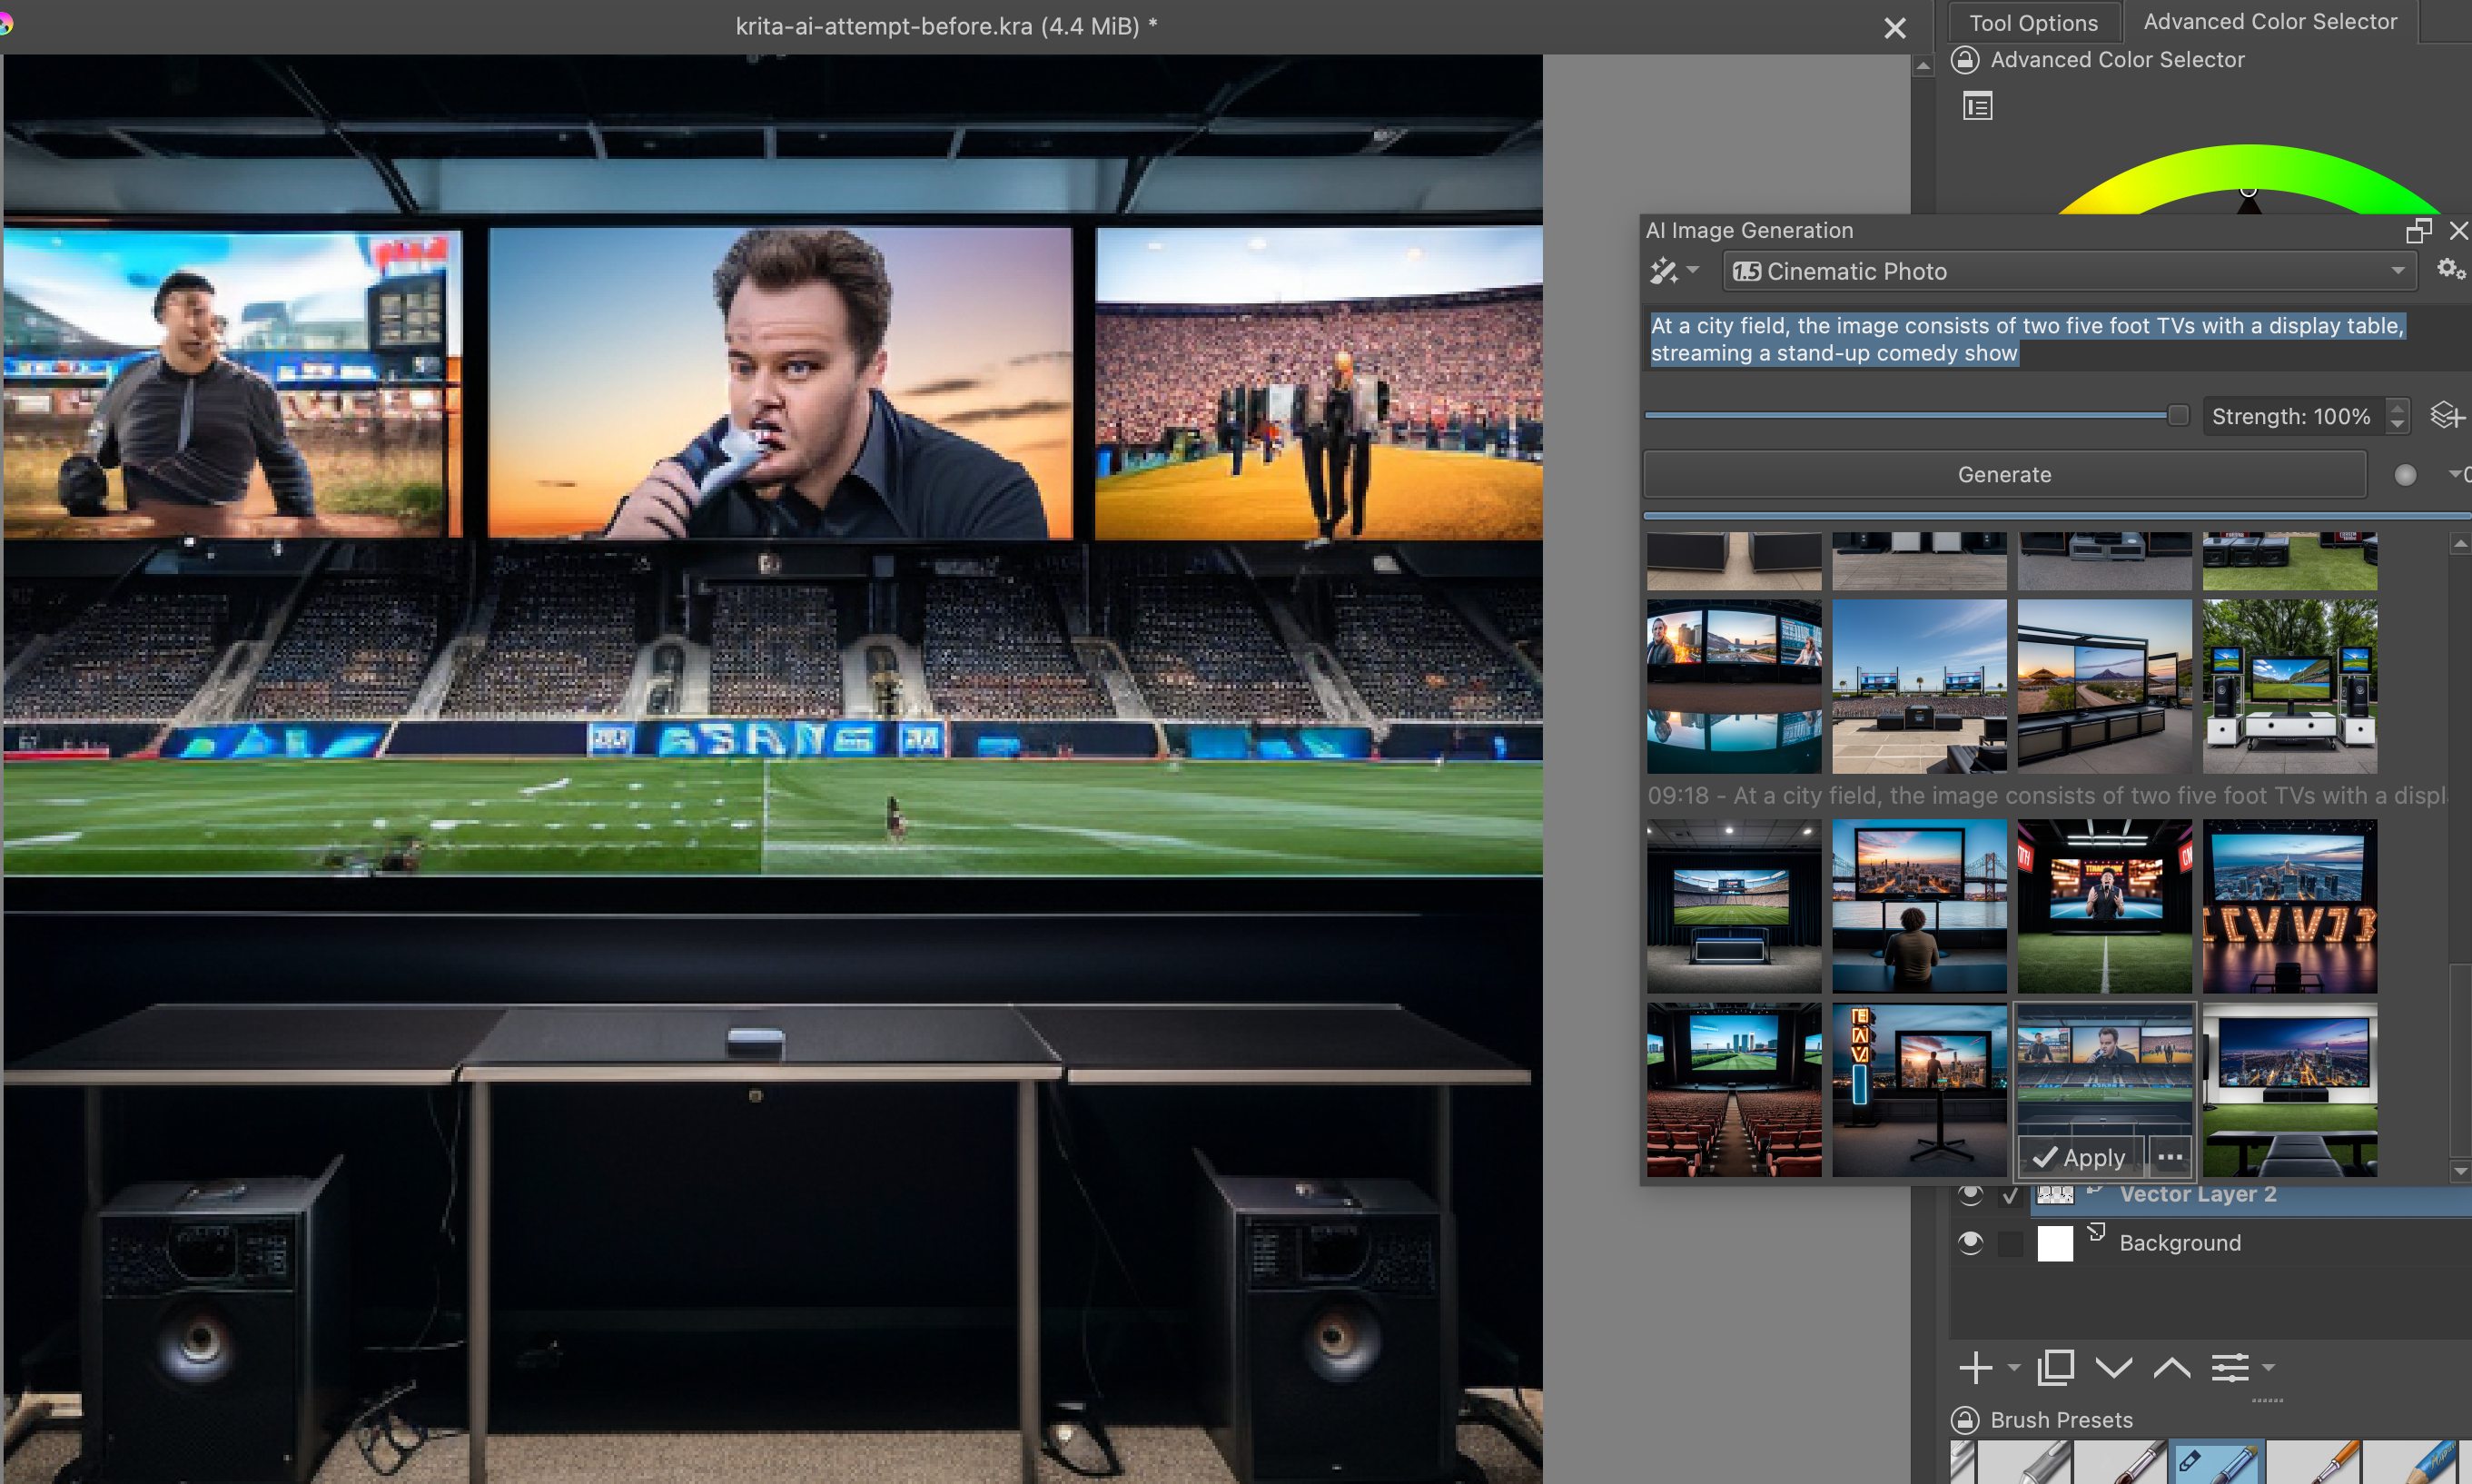
Attempt 6:
- Prompt: At a city park, during a festival, the image consists of two five foot TVs with a display table, streaming a stand-up comedy show
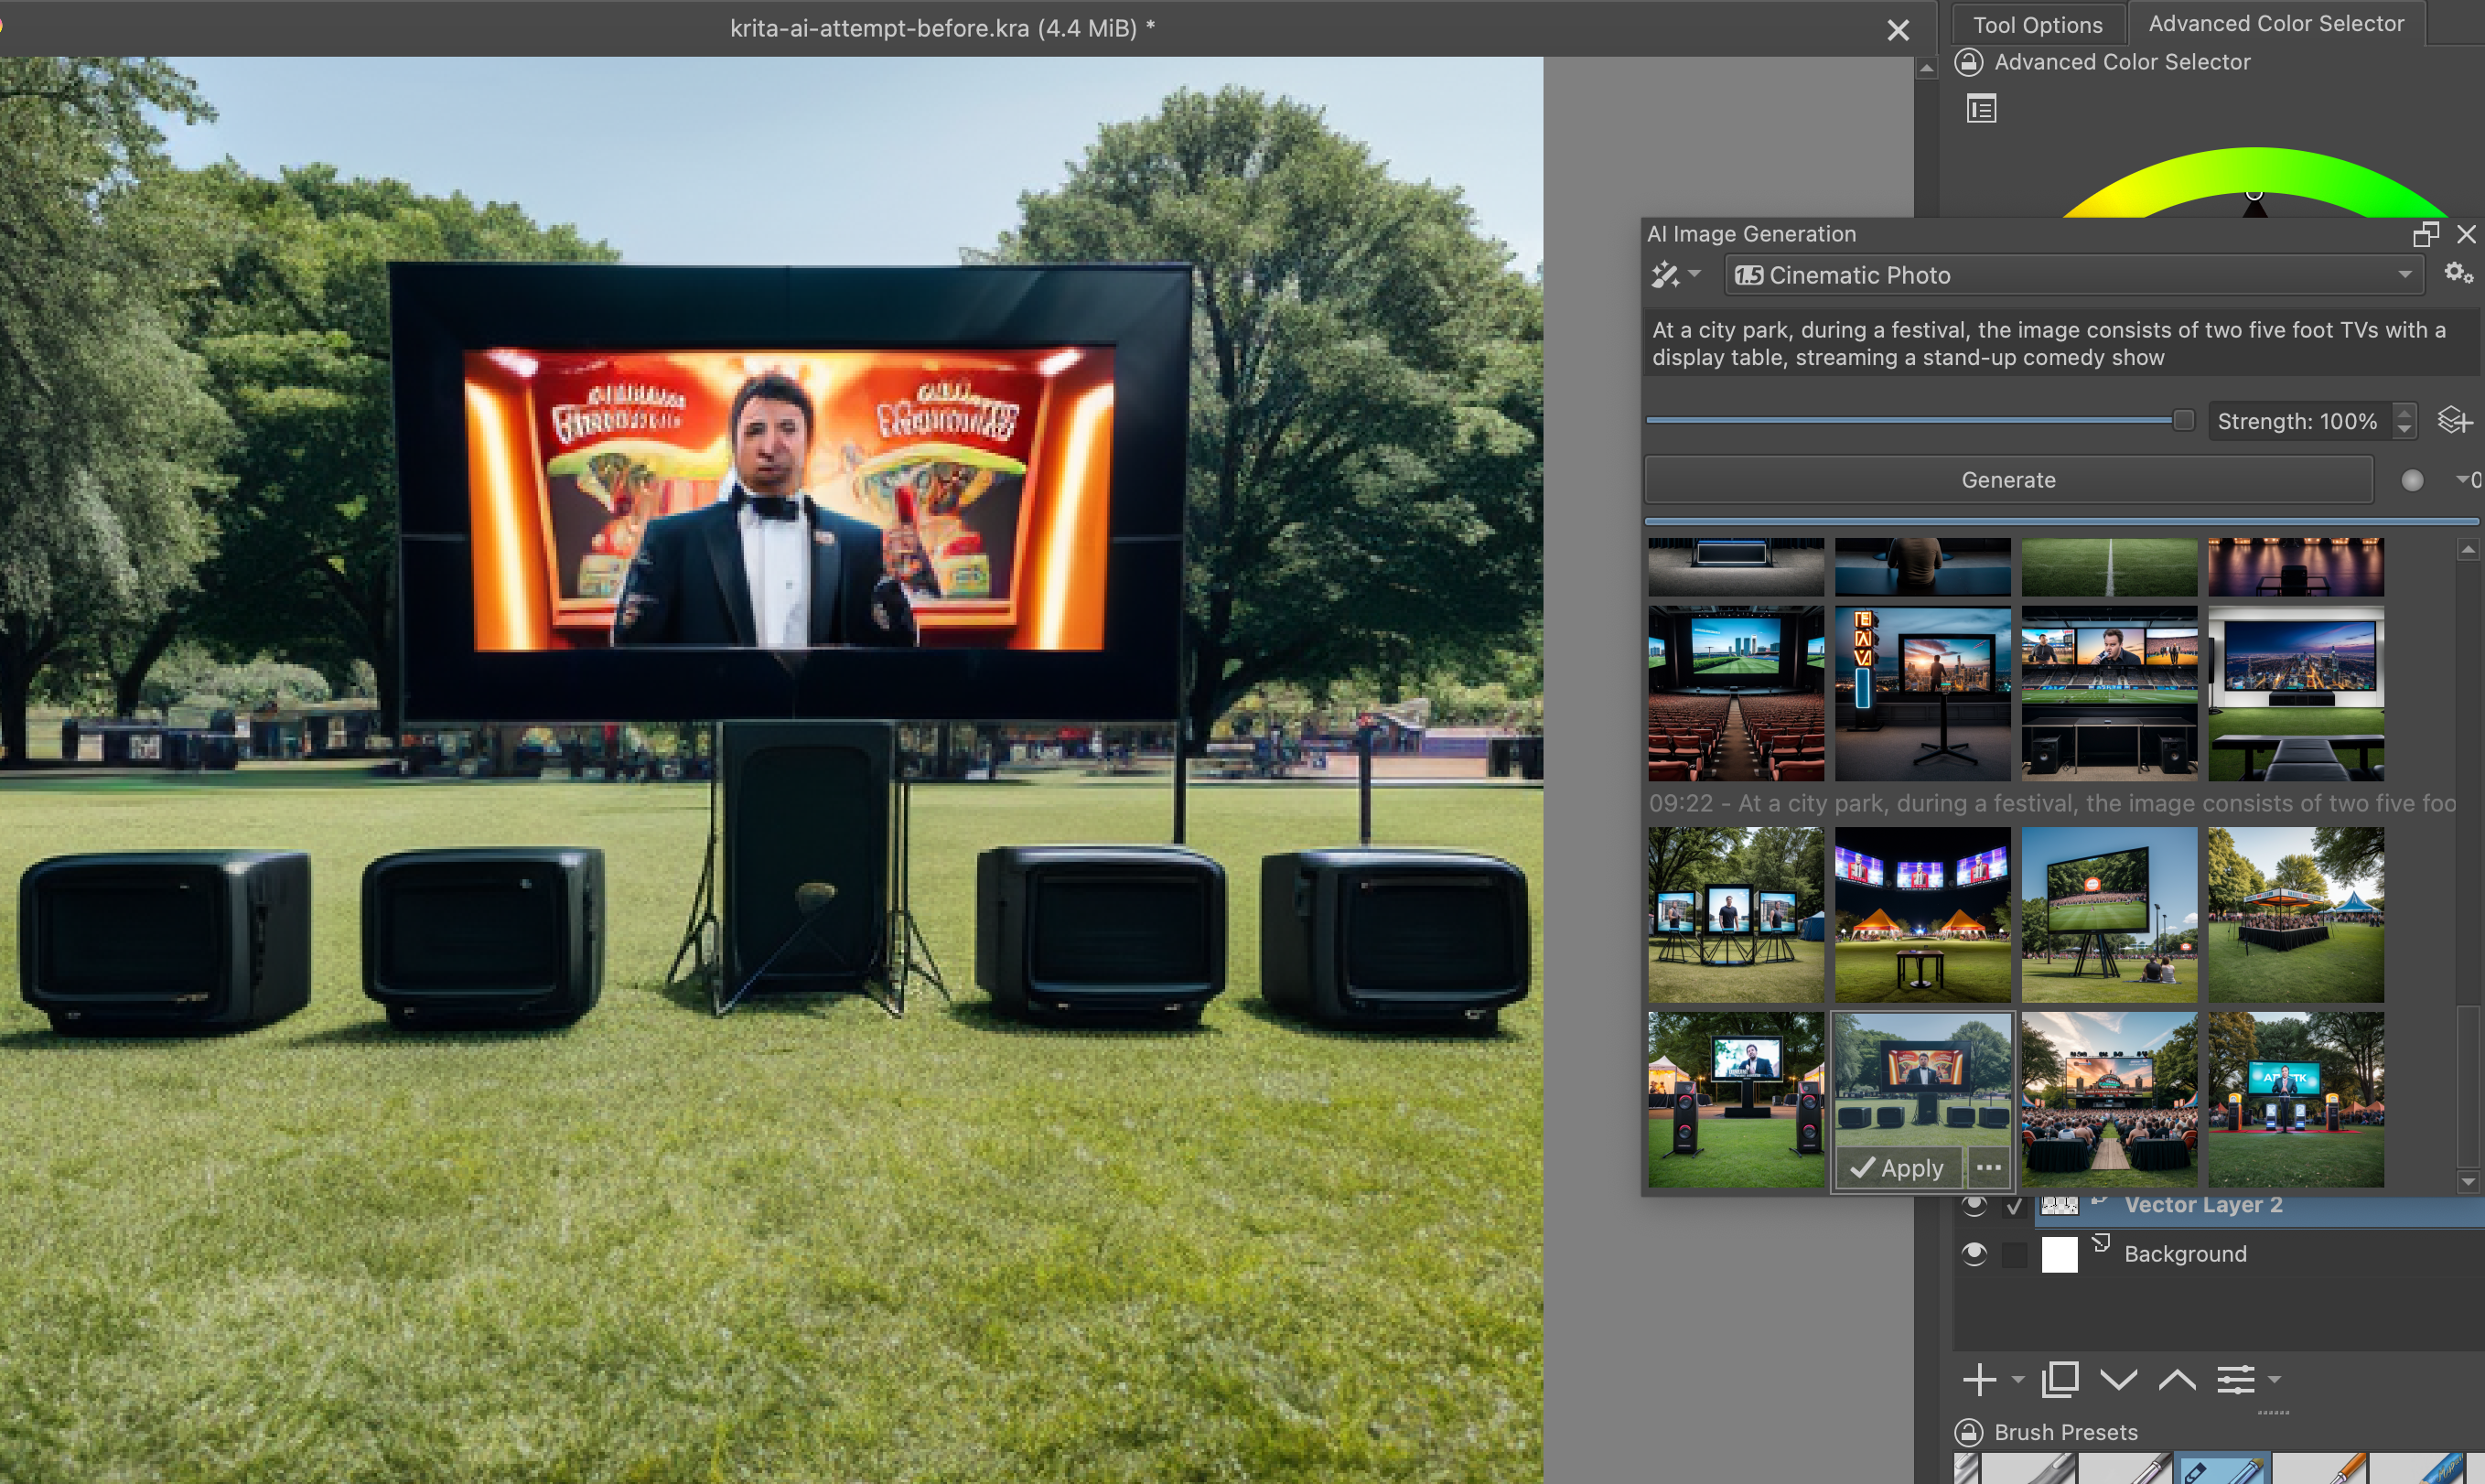
Changing the Settings
Attempt 7
(Note: I did not change the prompt from Attempt 6)
As an experiment, I turned strength from 100% to 60% as an experiment.
I had clicked "add a control layer" but I wasn't sure what it did. In looking through it, I selected Vector Layer 2-- the layer of the basic sketch (the seed image). When I clicked generate, it generated a realistic example of just the sketch itself. Very interesting!
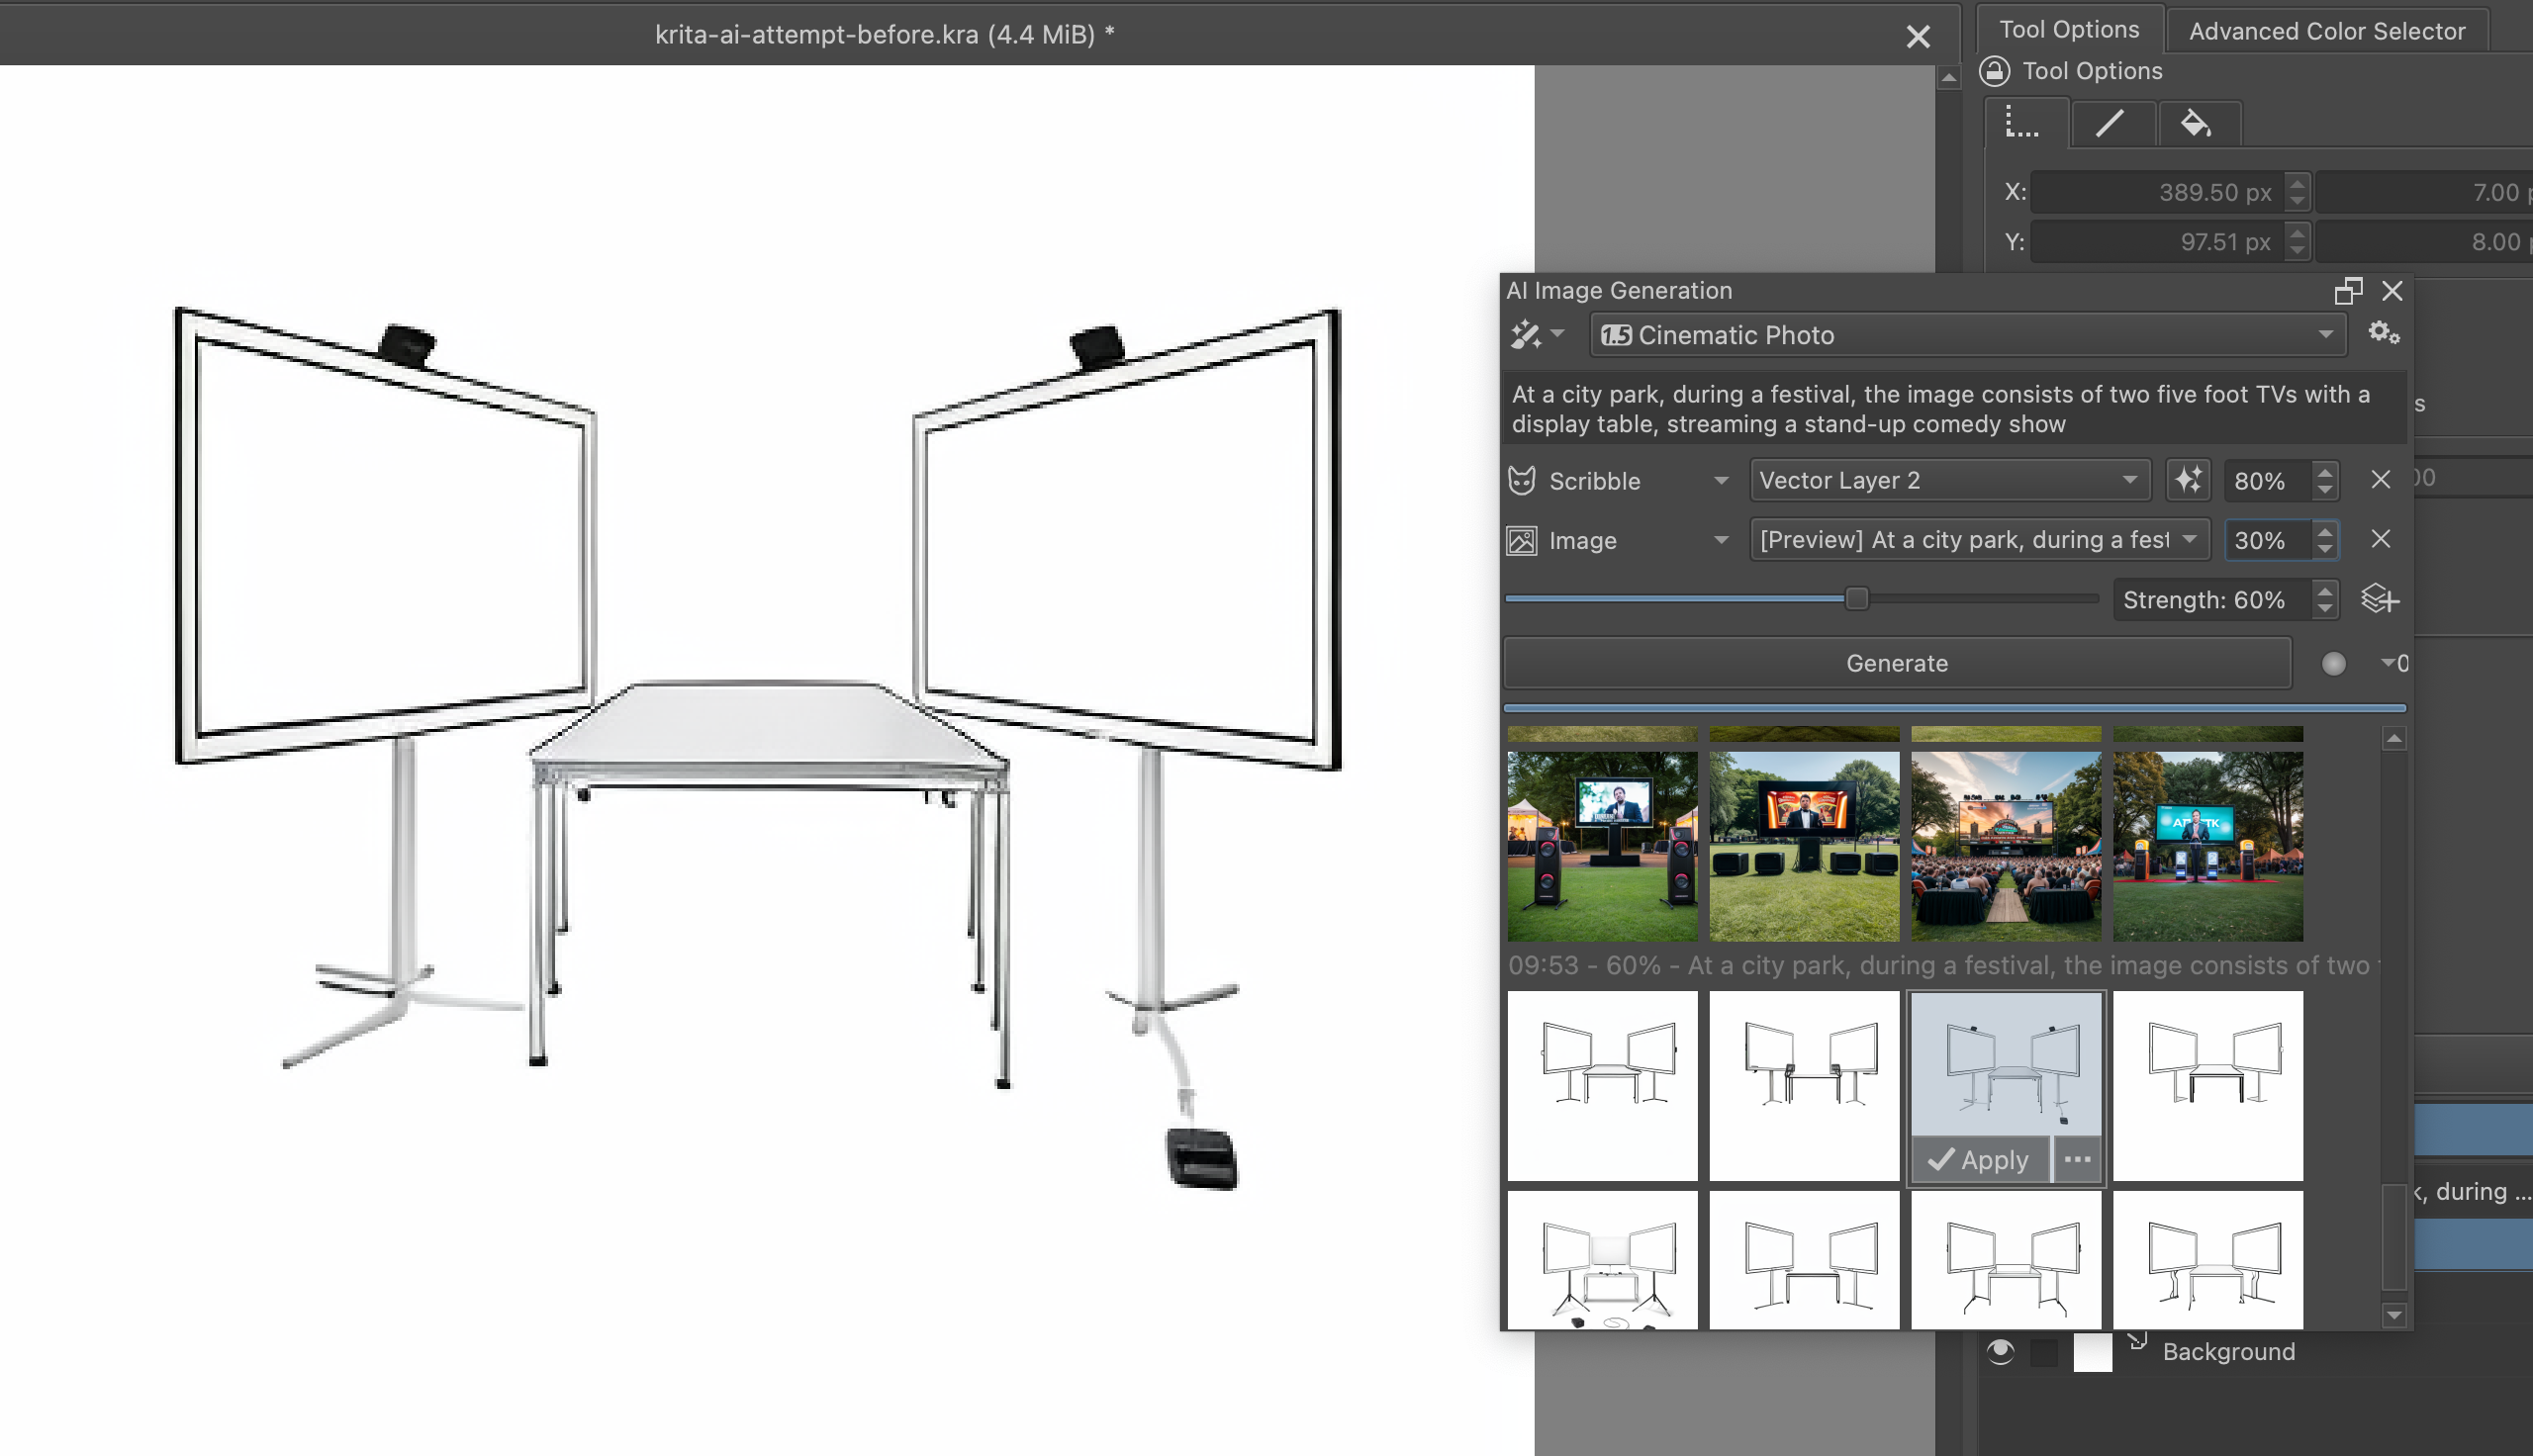
Attempt 8
Now I used two layers:
The seed layer (40% strength),
And the Attempt 6 layer (60% strength).
Oops. That's pretty weird! And not what I was looking for.
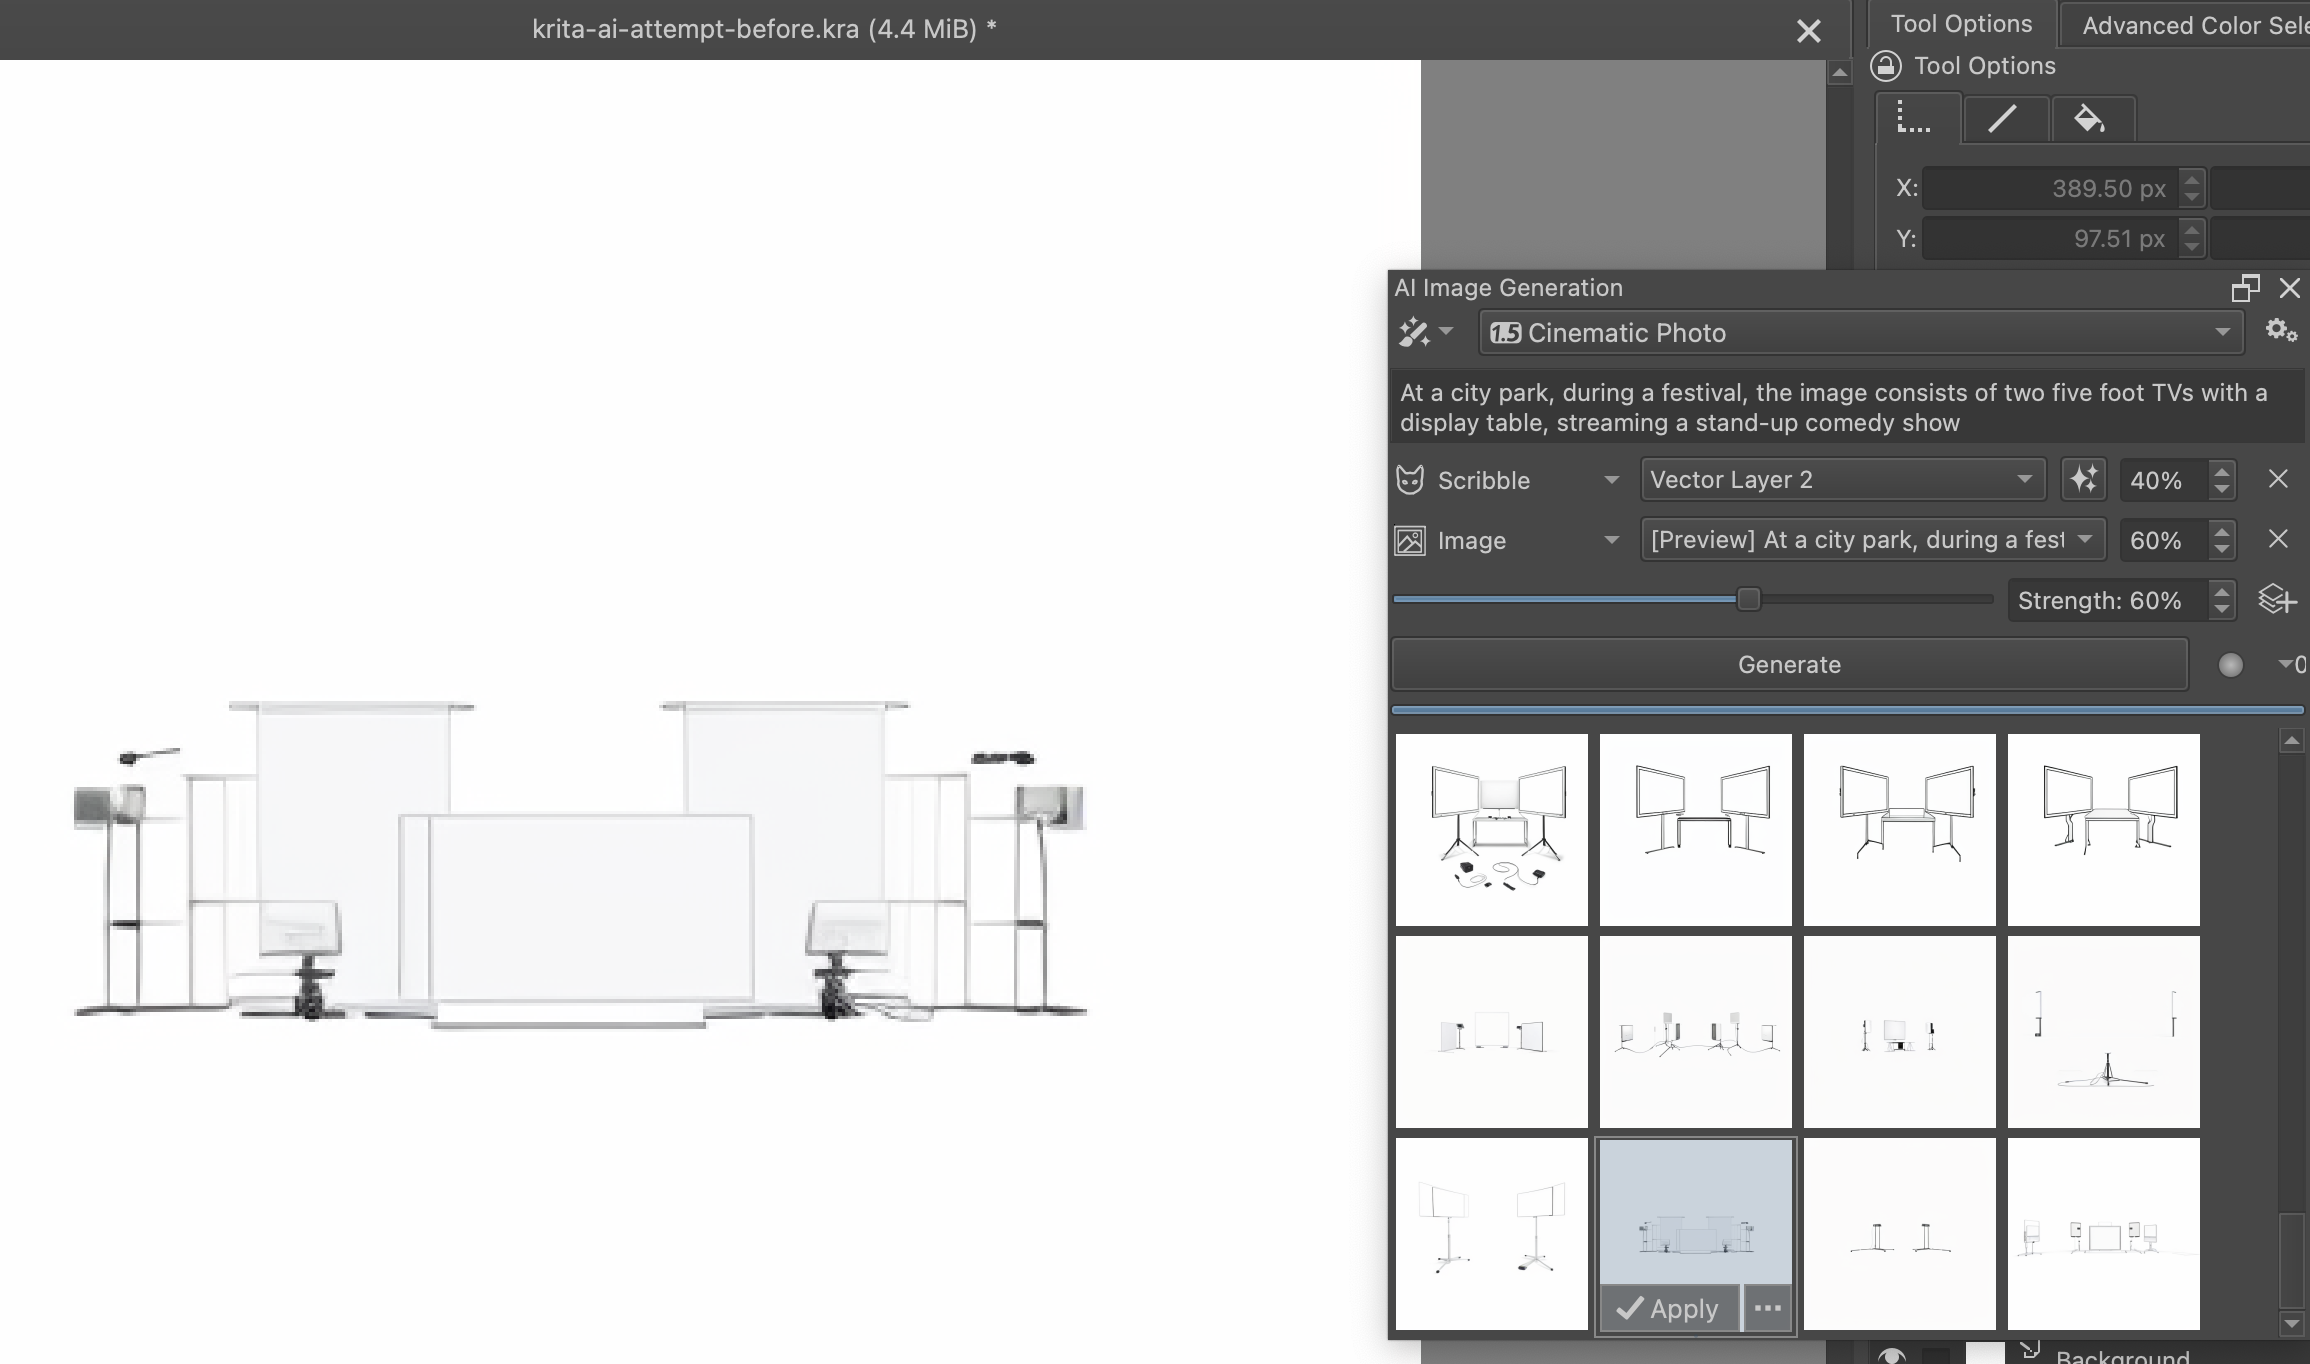
...Apparently I needed to select the particular image to use as the basis.
Below is the ToolTip from hovering my cursor over the 3 star-dots to the right of the scribble's text input box. As you can see, it seems to imply the strength setting will be applied to the image which is currently selected from the various AI generated images.

Attempt 9
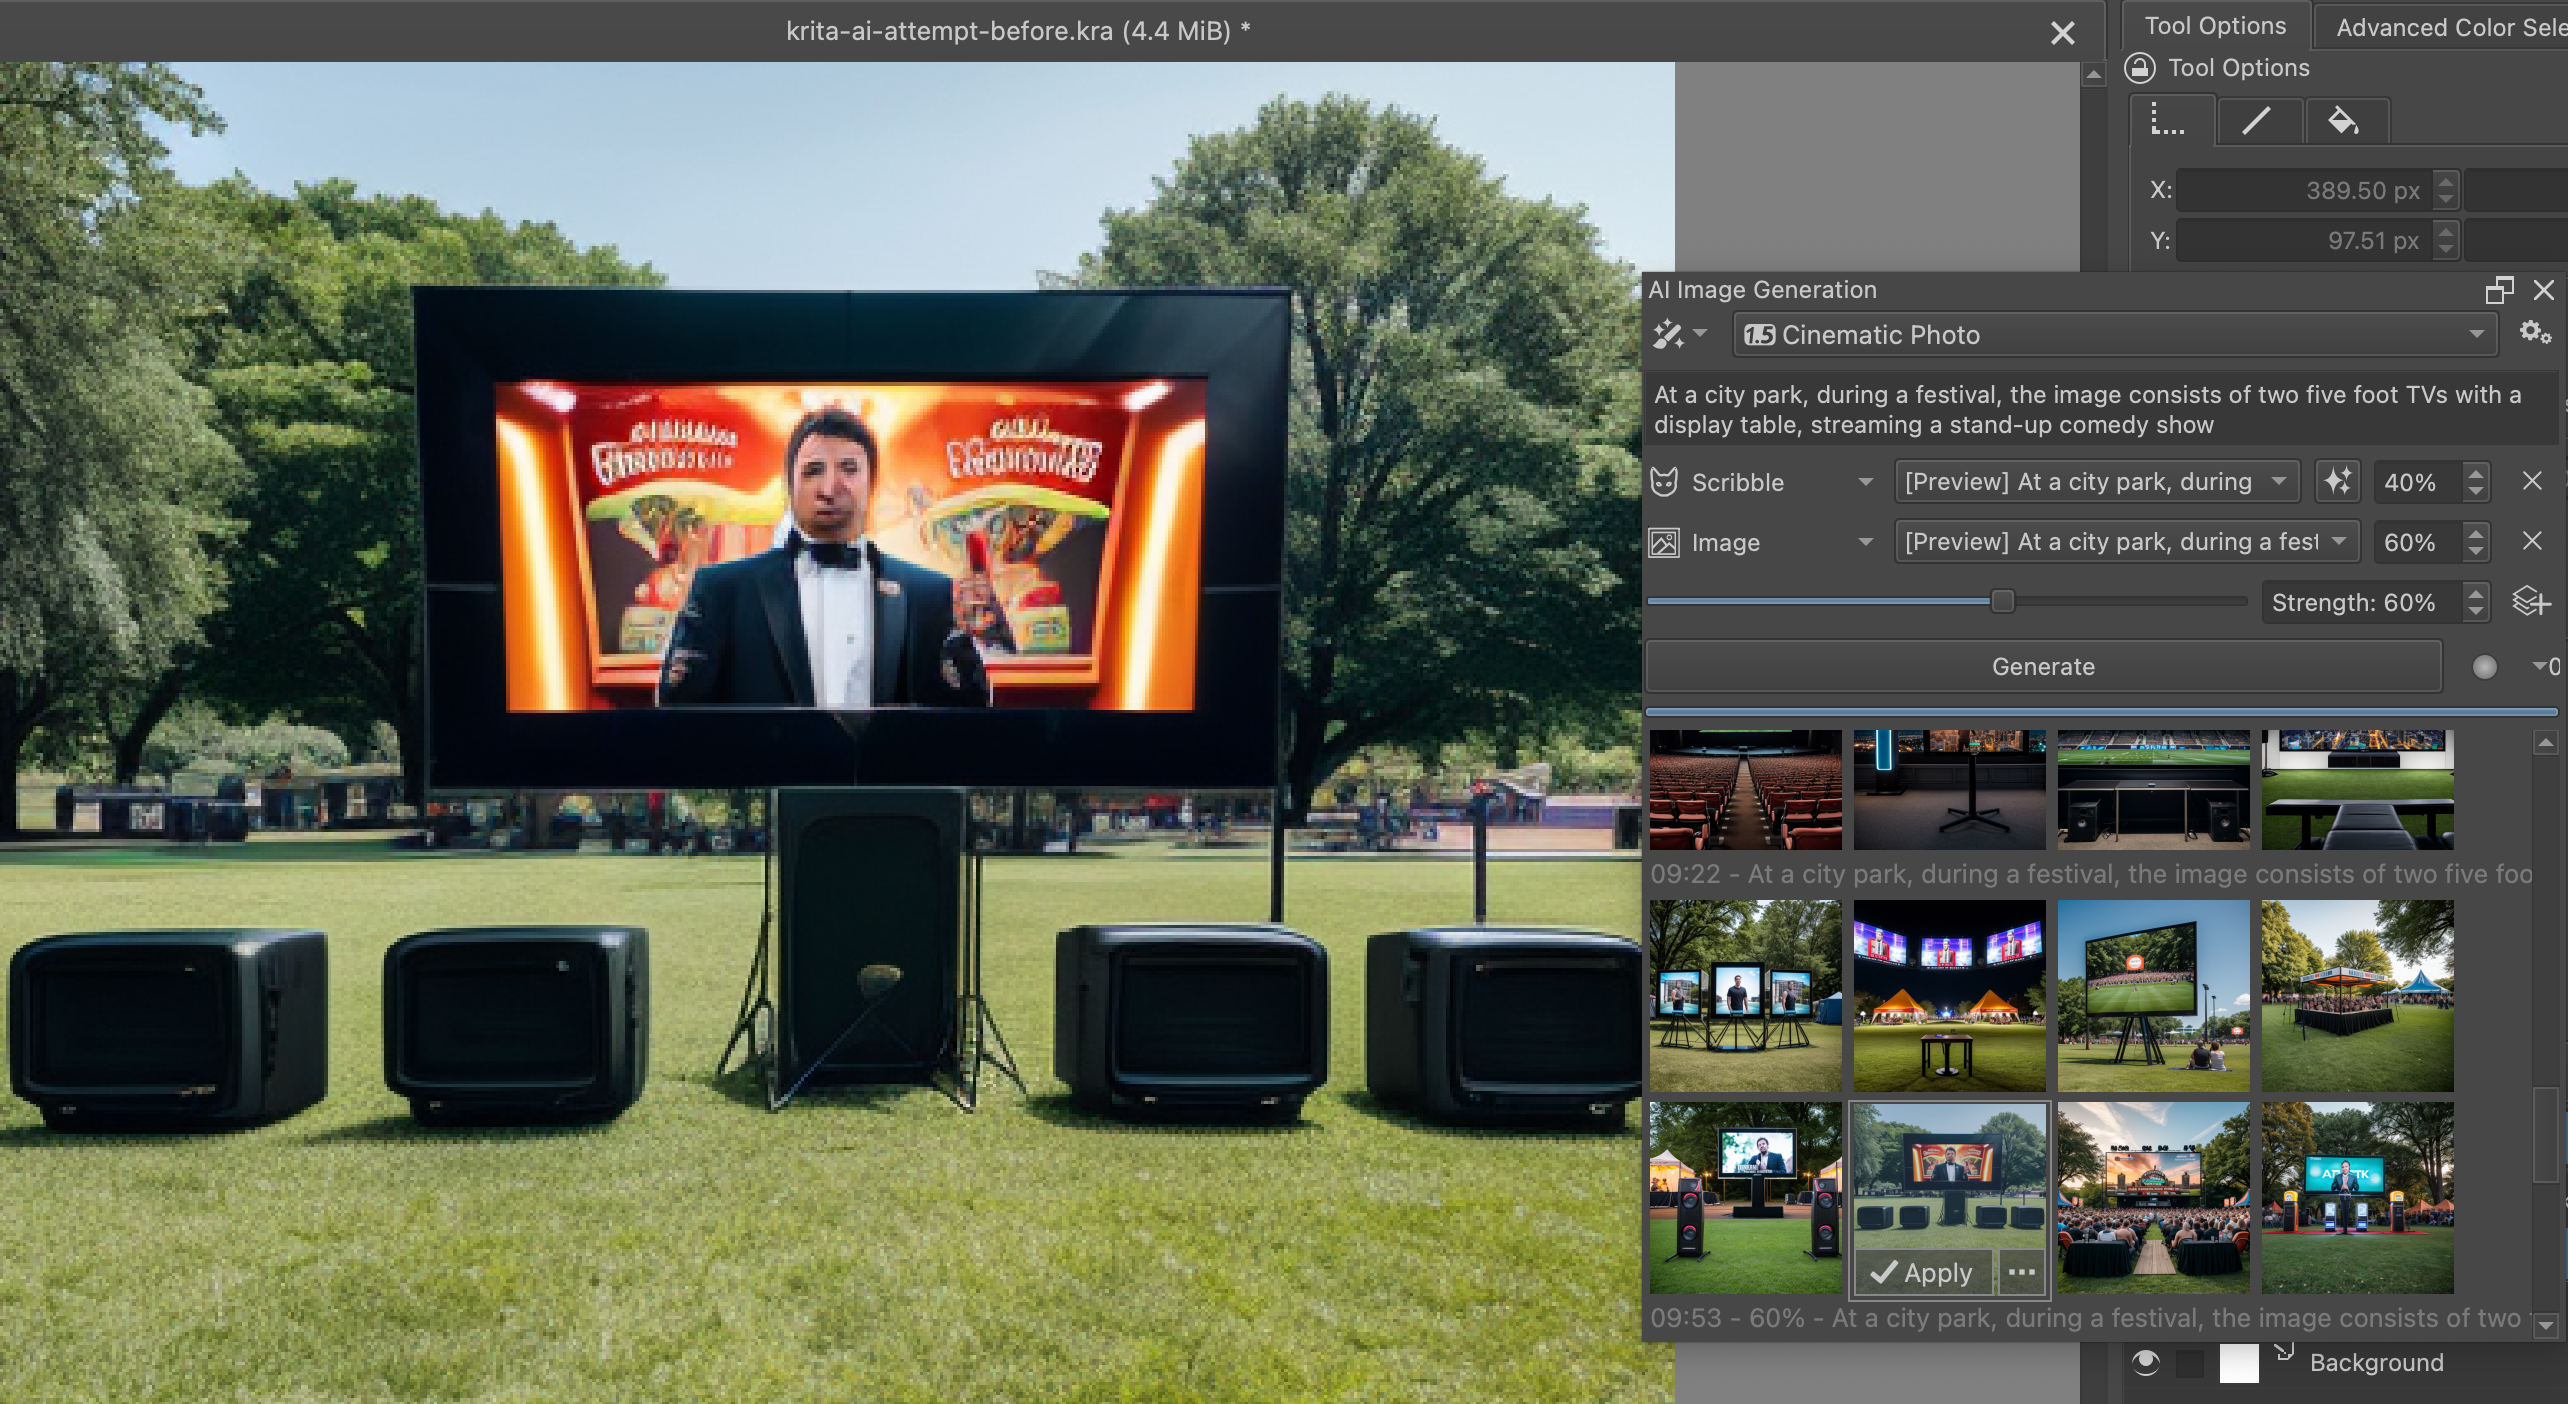
So, I selected the Attempt 6 image.
With Settings:
- Scribble ControlNet Strenghth: 40%
- "Image" Controlnet? (I think) Strength: 60%
Here's the setup of those settings-- prior to generation.
Attempt 10
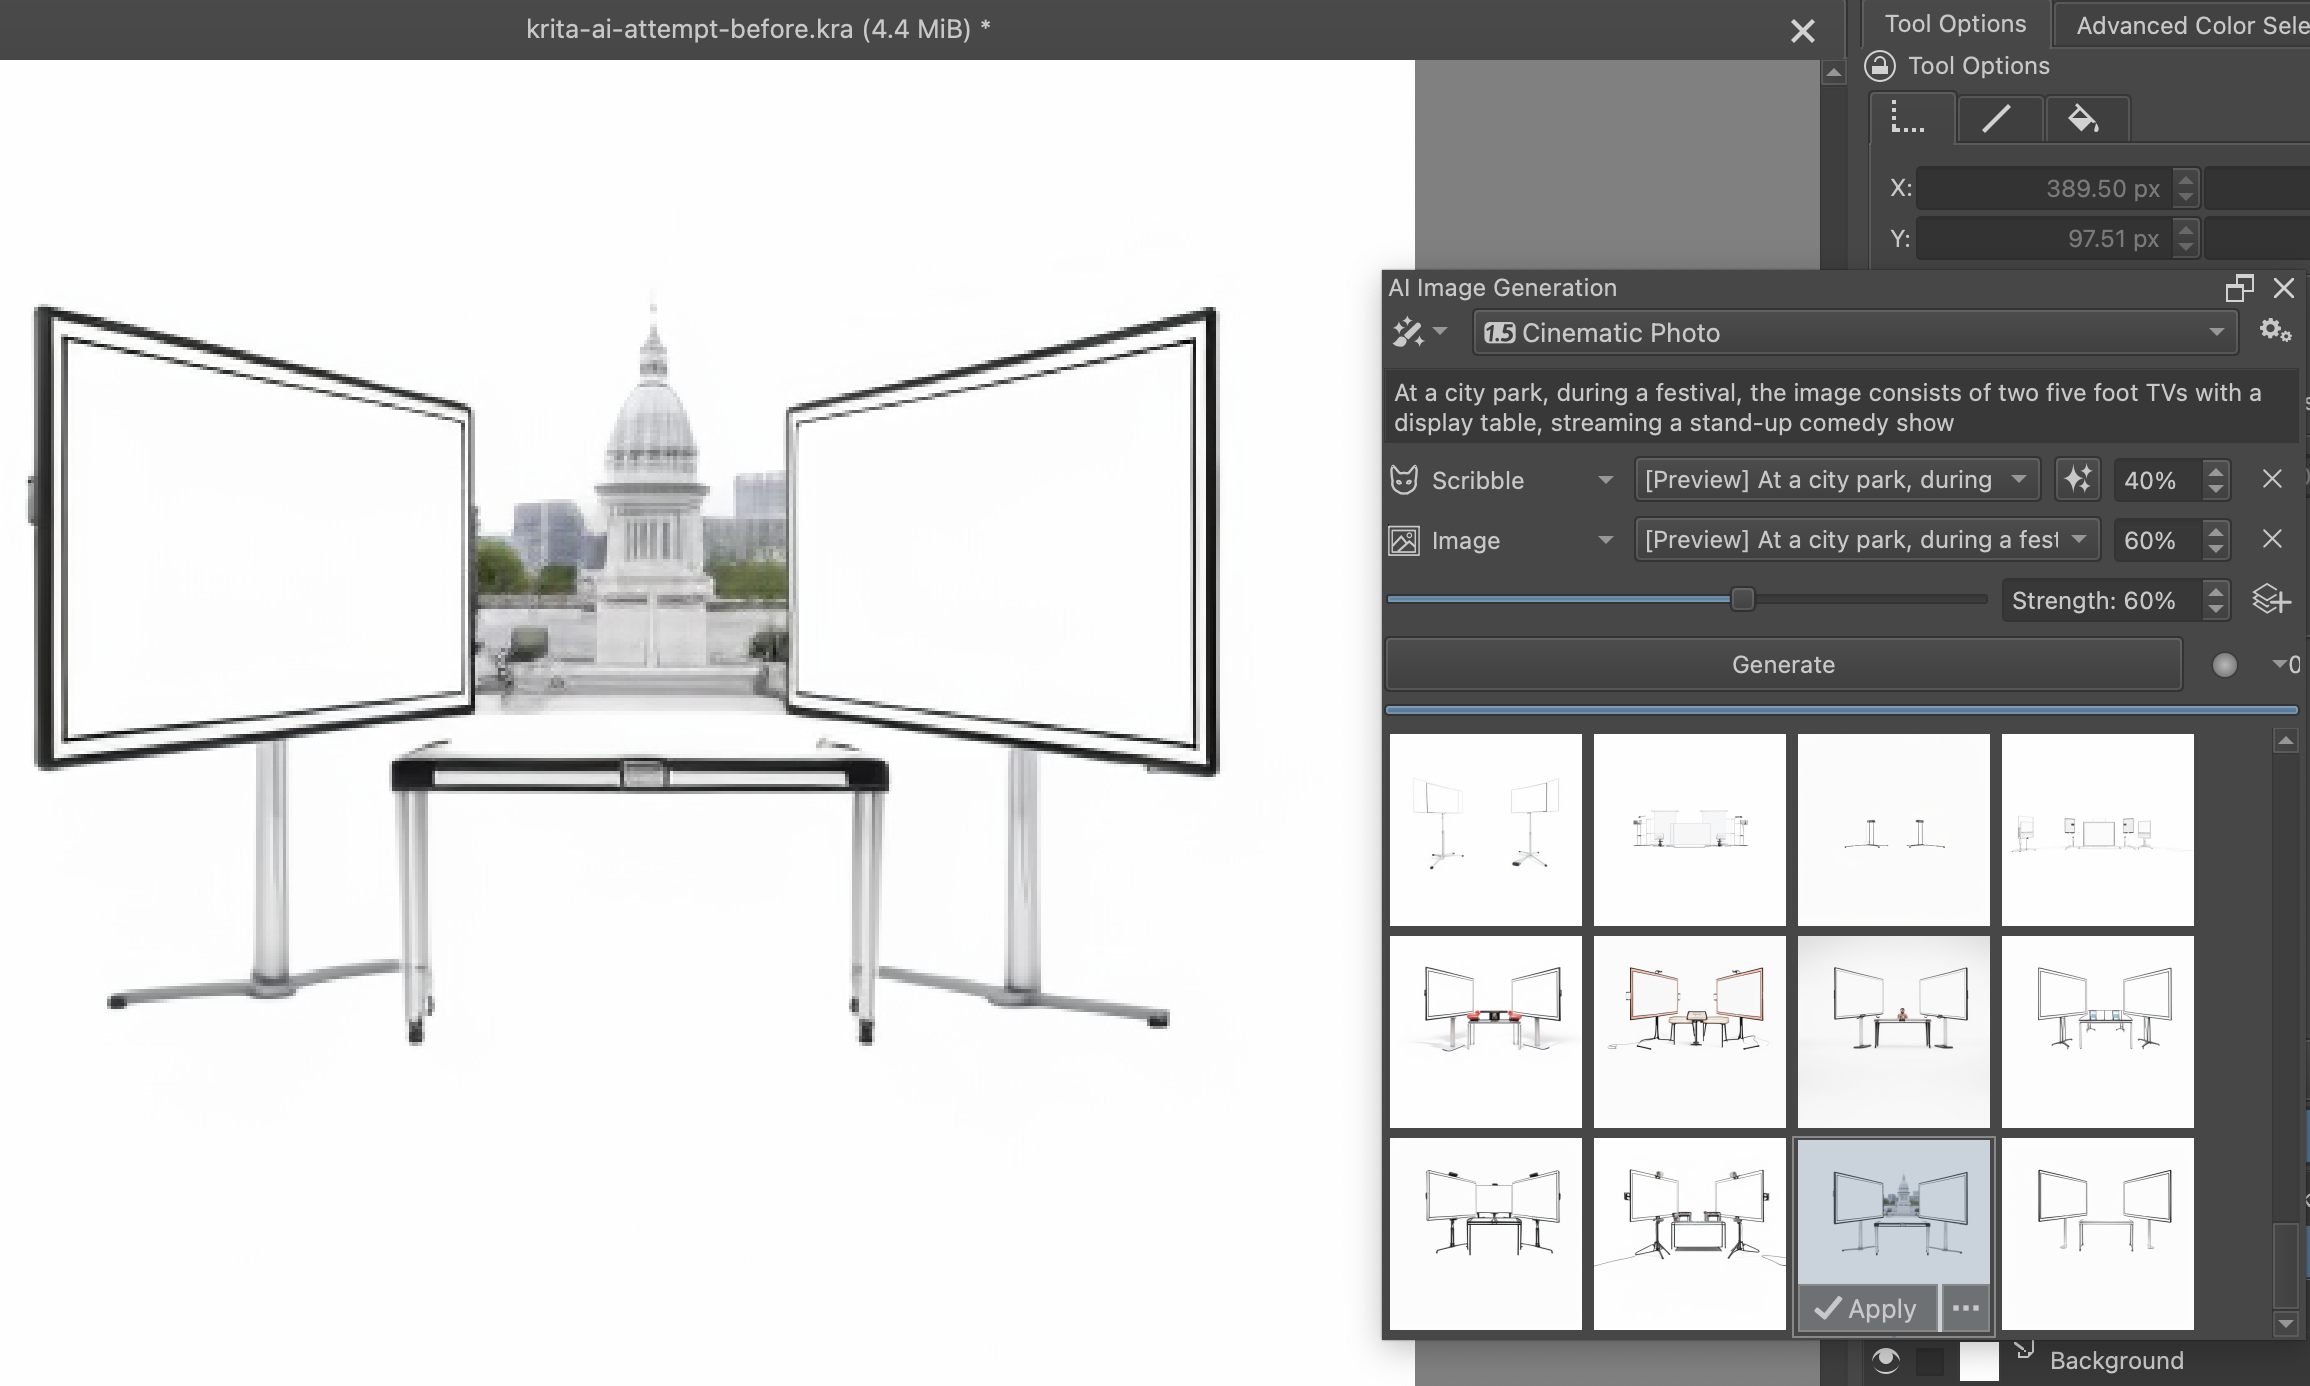
...Well... That's wonky! Funny that it came up with a Capitol building! Not quite what I was hoping for! Back to the drawing board!
I barely know what these tools do, so I am going to learn more about the various settings & configuration options.